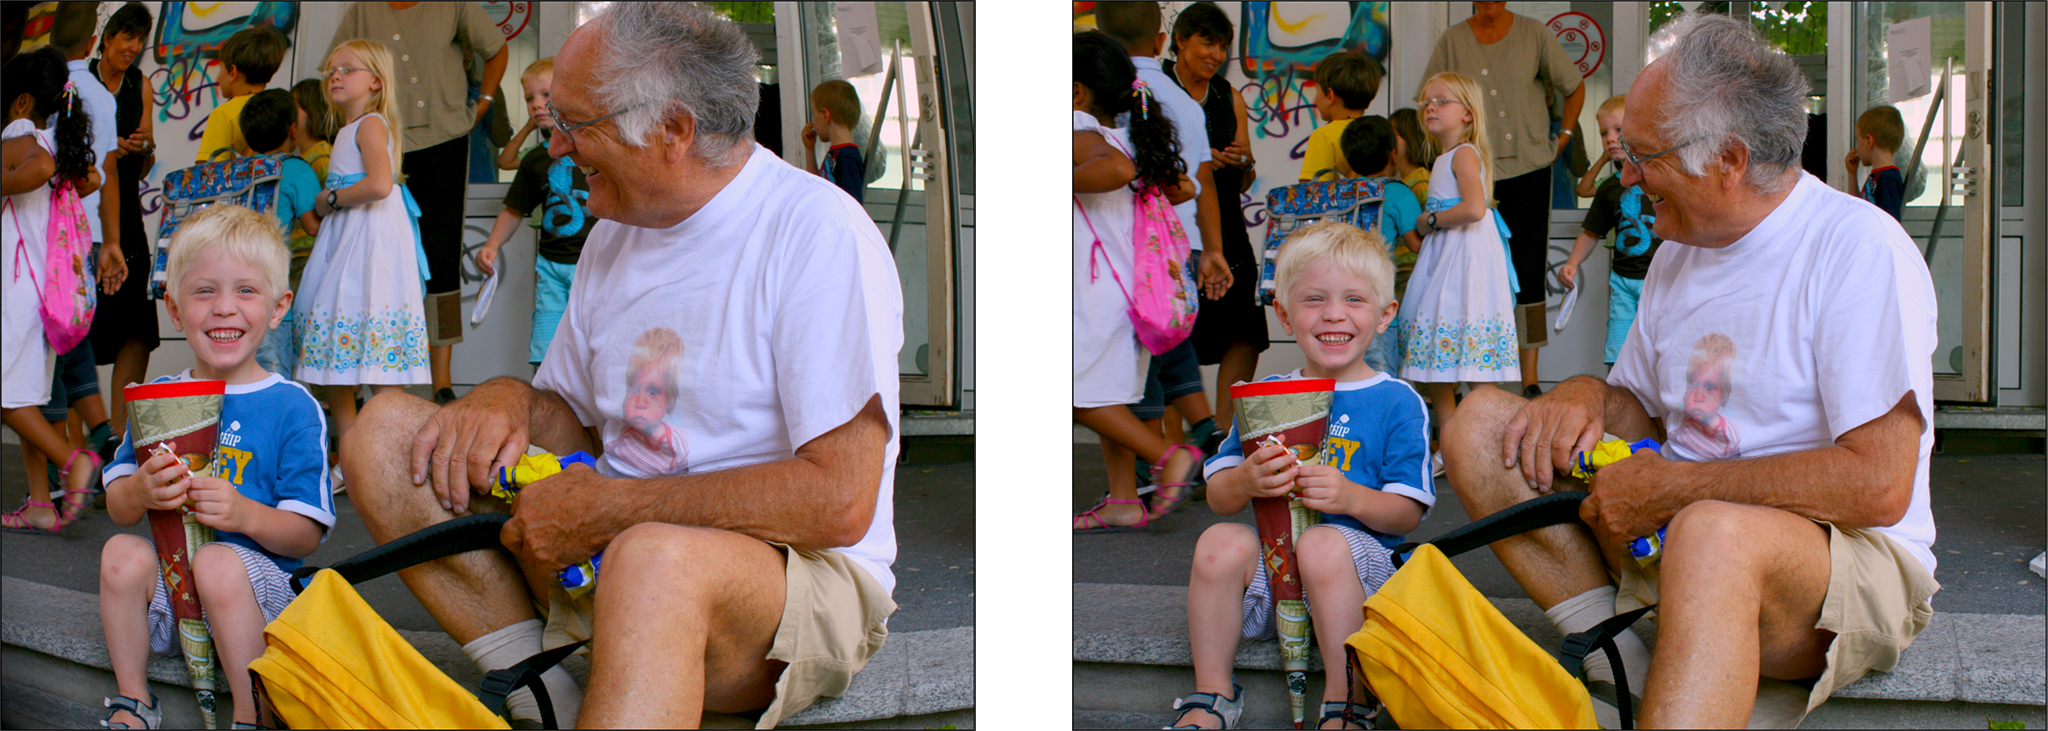
Various visual effects can be applied to layers. Double-tap a layer in the Stage or the Storyboard to show the Options Popup, then scroll down to reveal effects list. Tap on the checkbox to the left of an effect name to enable that effect.
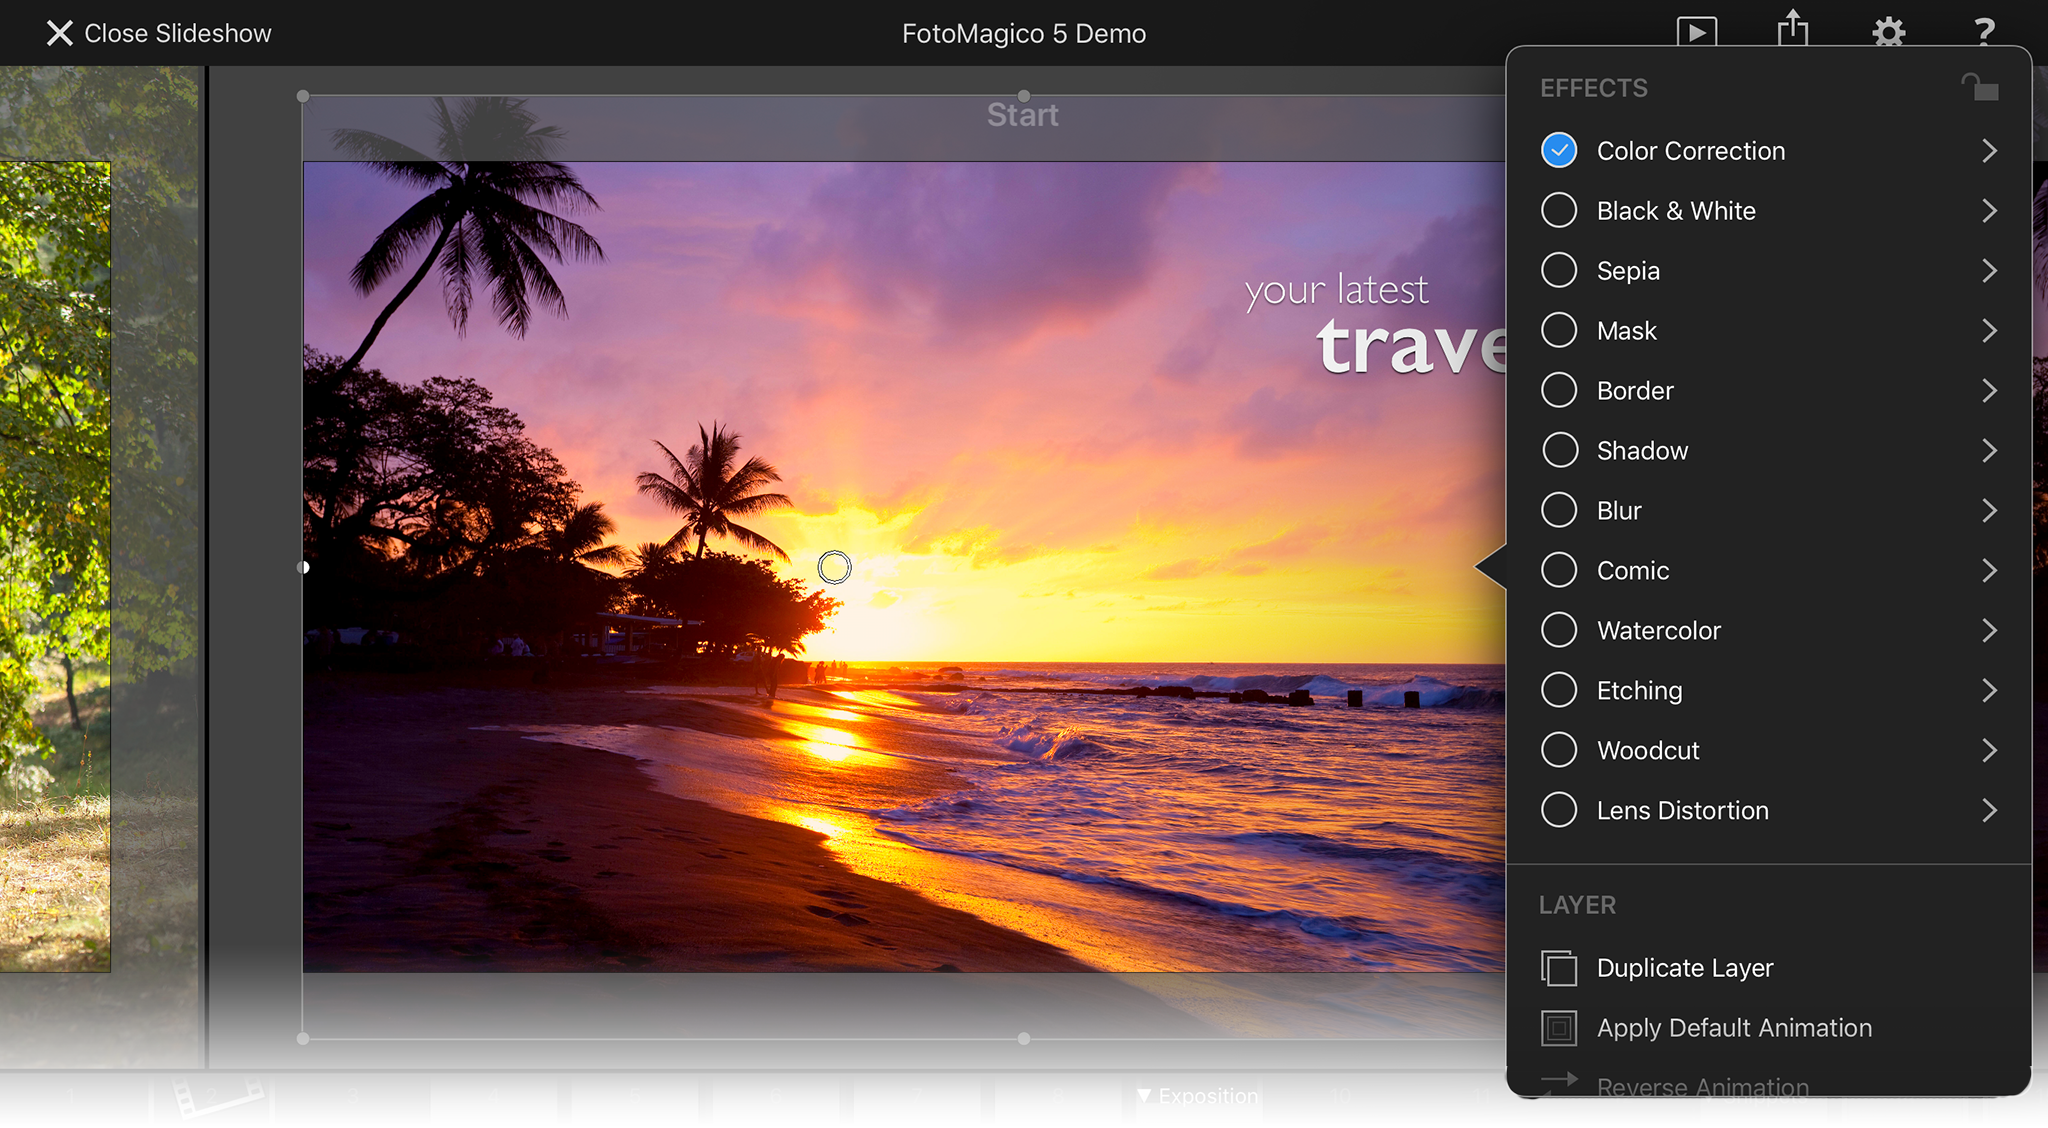
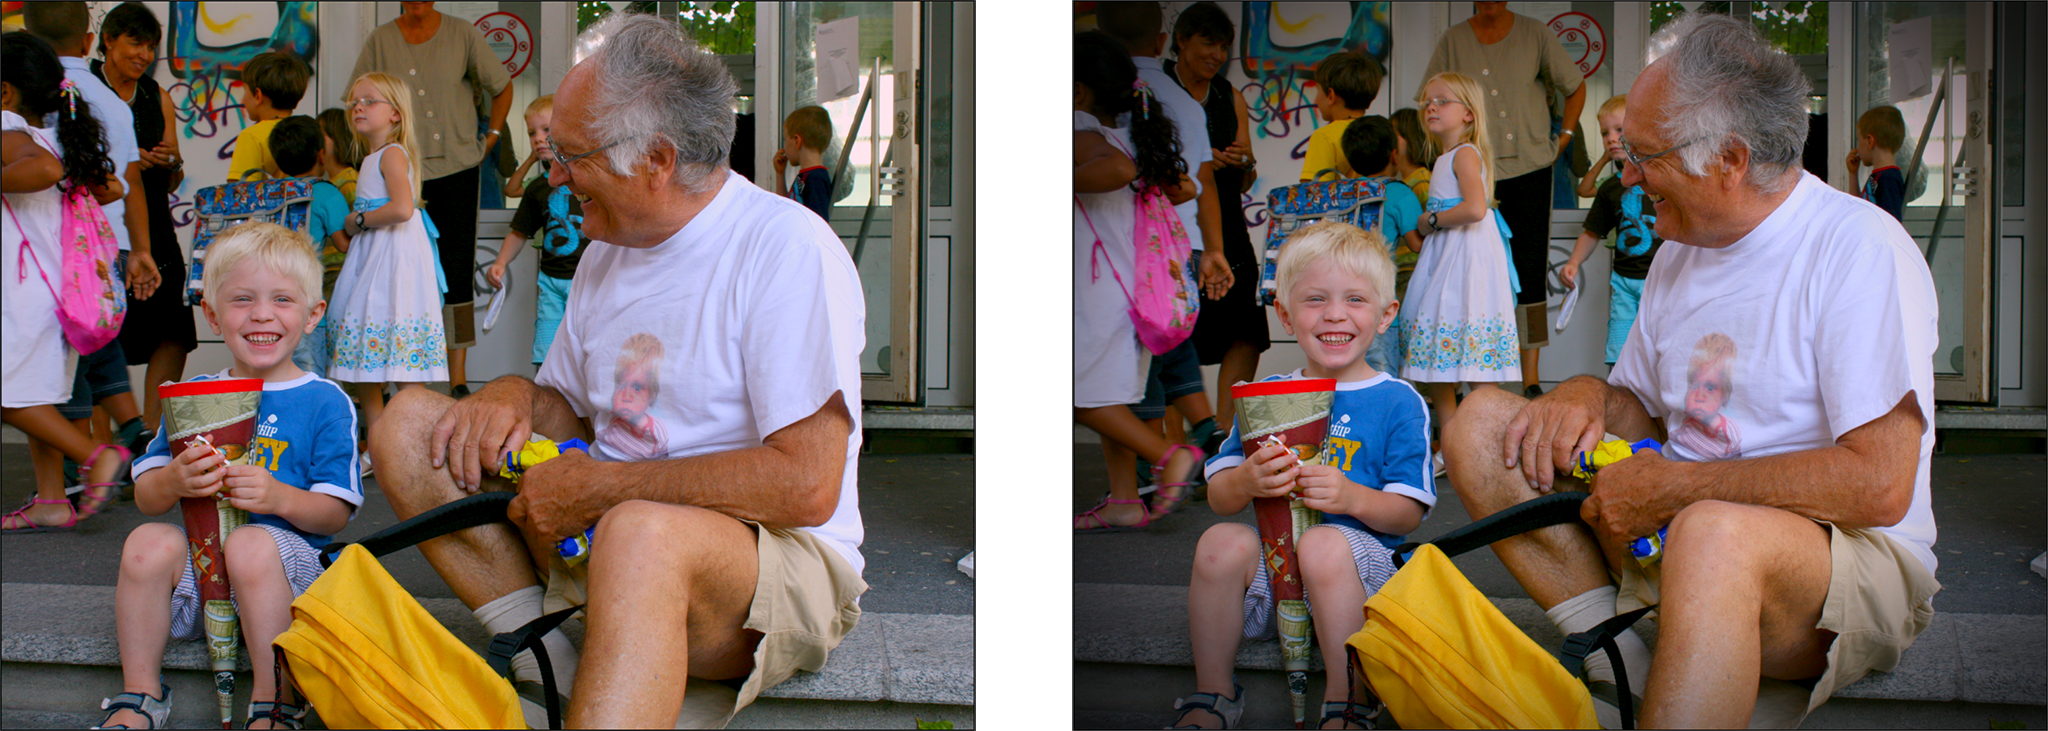
Tap on the effect name or the arrow to its right to show the effect parameters – that way you can customize the visual appearance of this effect. Use the Enabled switch to quickly turn on/off an effect to check the before and after look when fine-tuning parameters. Please note that all of the effects are non-destructive, i.e. they only influence the appearance of the layer in the slideshow, but the image or video files are not modified.
Once you have found parameter settings that you like, you can Copy and Paste them to other image or video layers. Tapping on Reset reverts the effect parameters to the factory defaults, which sometimes means that no effect is applied.
Some effects (Film, Video, Vignette) are only available for the whole slide and are applied to all layers of a slide. For this reason they can only be accessed from the Options Popup in the Storyboard.
Some effects are exclusive, i.e. enabling one effect turns off another competing effect. Blur, Comic, Watercolor, Etching, and Woodcut are exclusive to each other. Film and Video are also exclusive to each other.
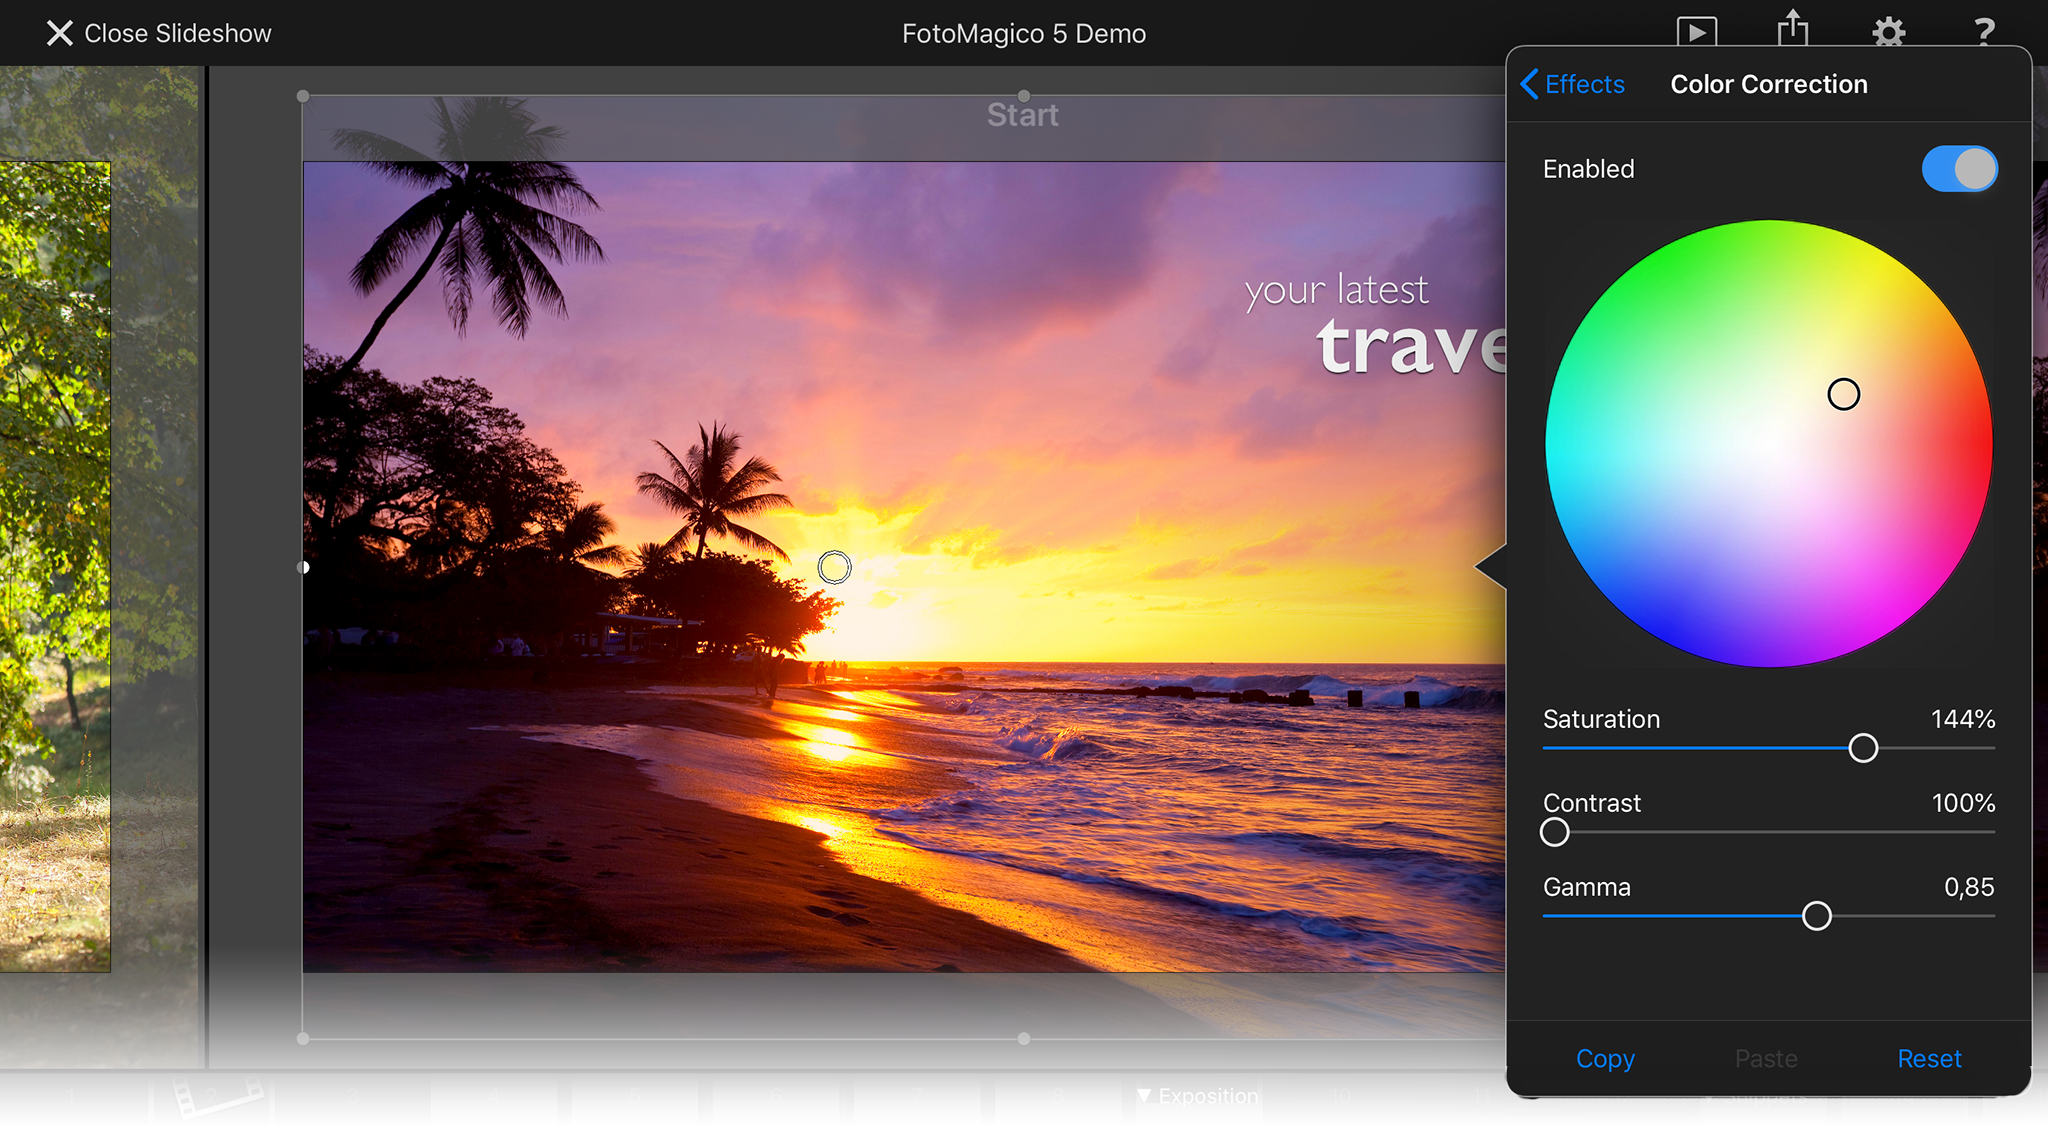
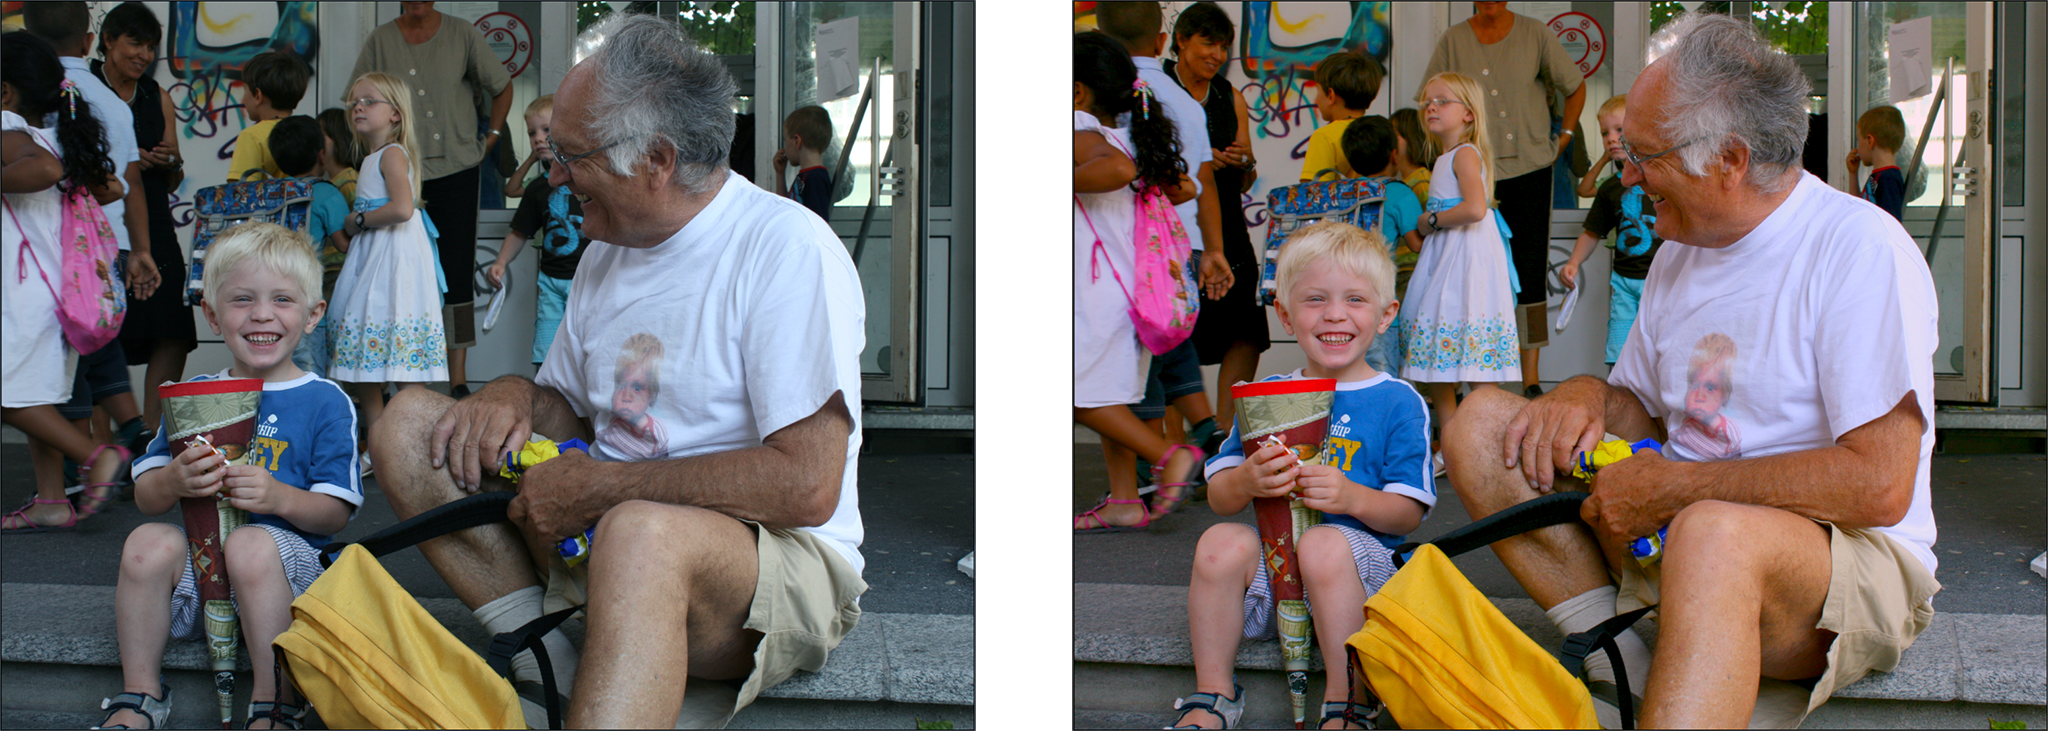
Color Correction
Color correction can be used to fix unwanted tints of an image, e.g. a bluish tint in a photo taken early in the morning. Drag the indicator in the color wheel in the desired direction to modify the tint of the image. Use the Saturation, Contrast, and Gamma sliders to further modify the appearance of the image.
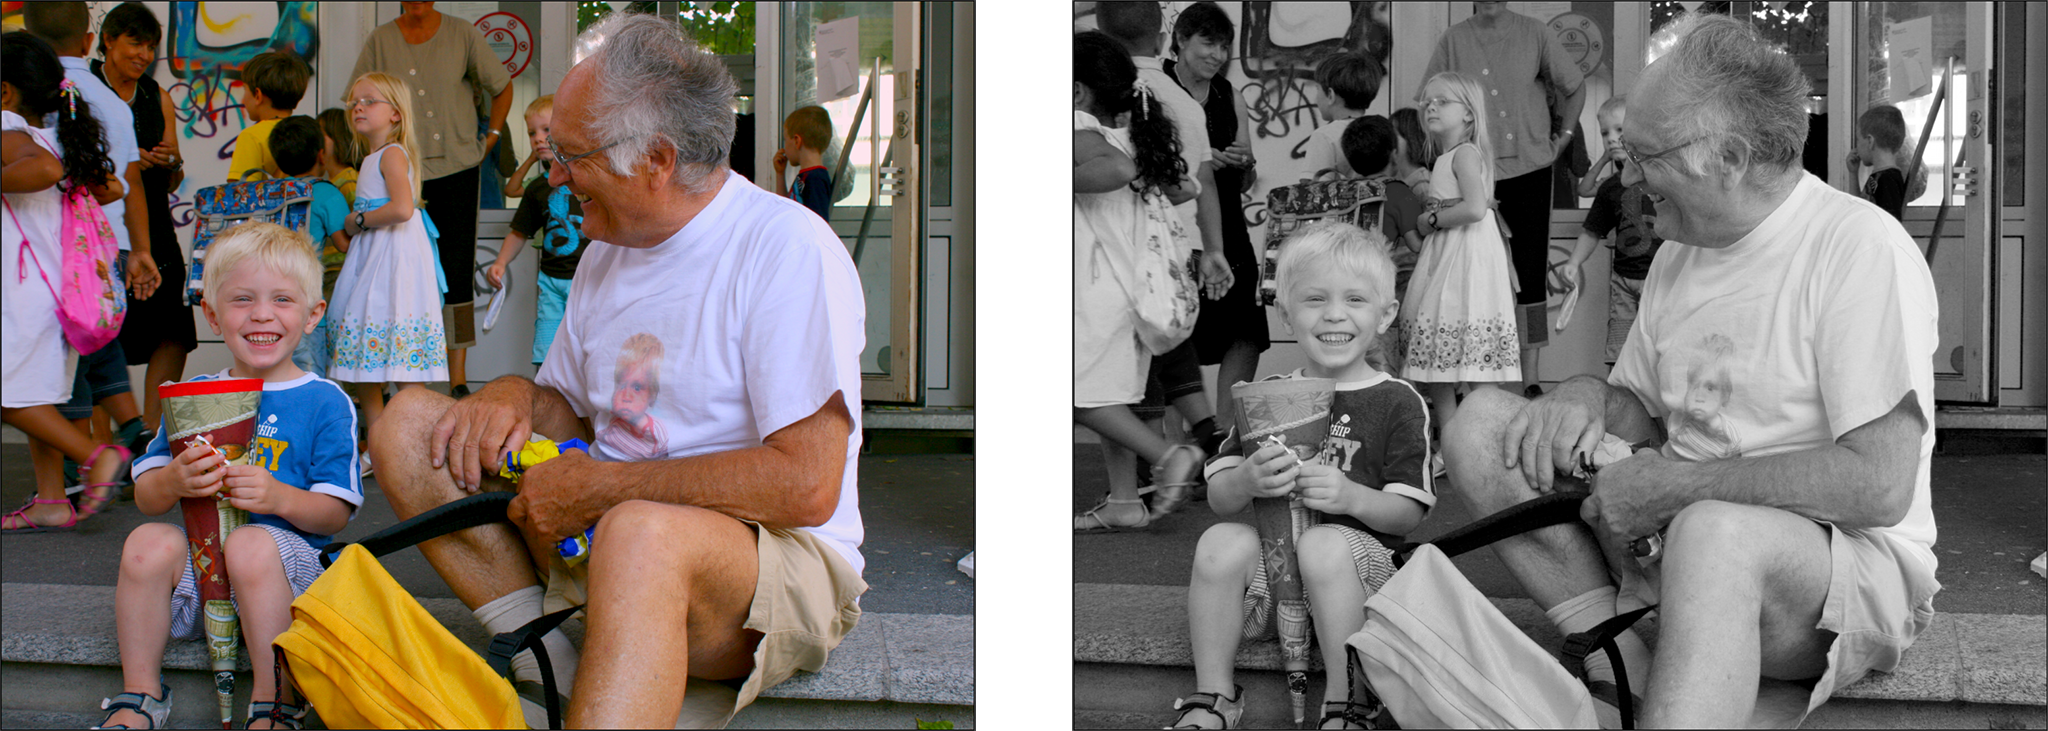
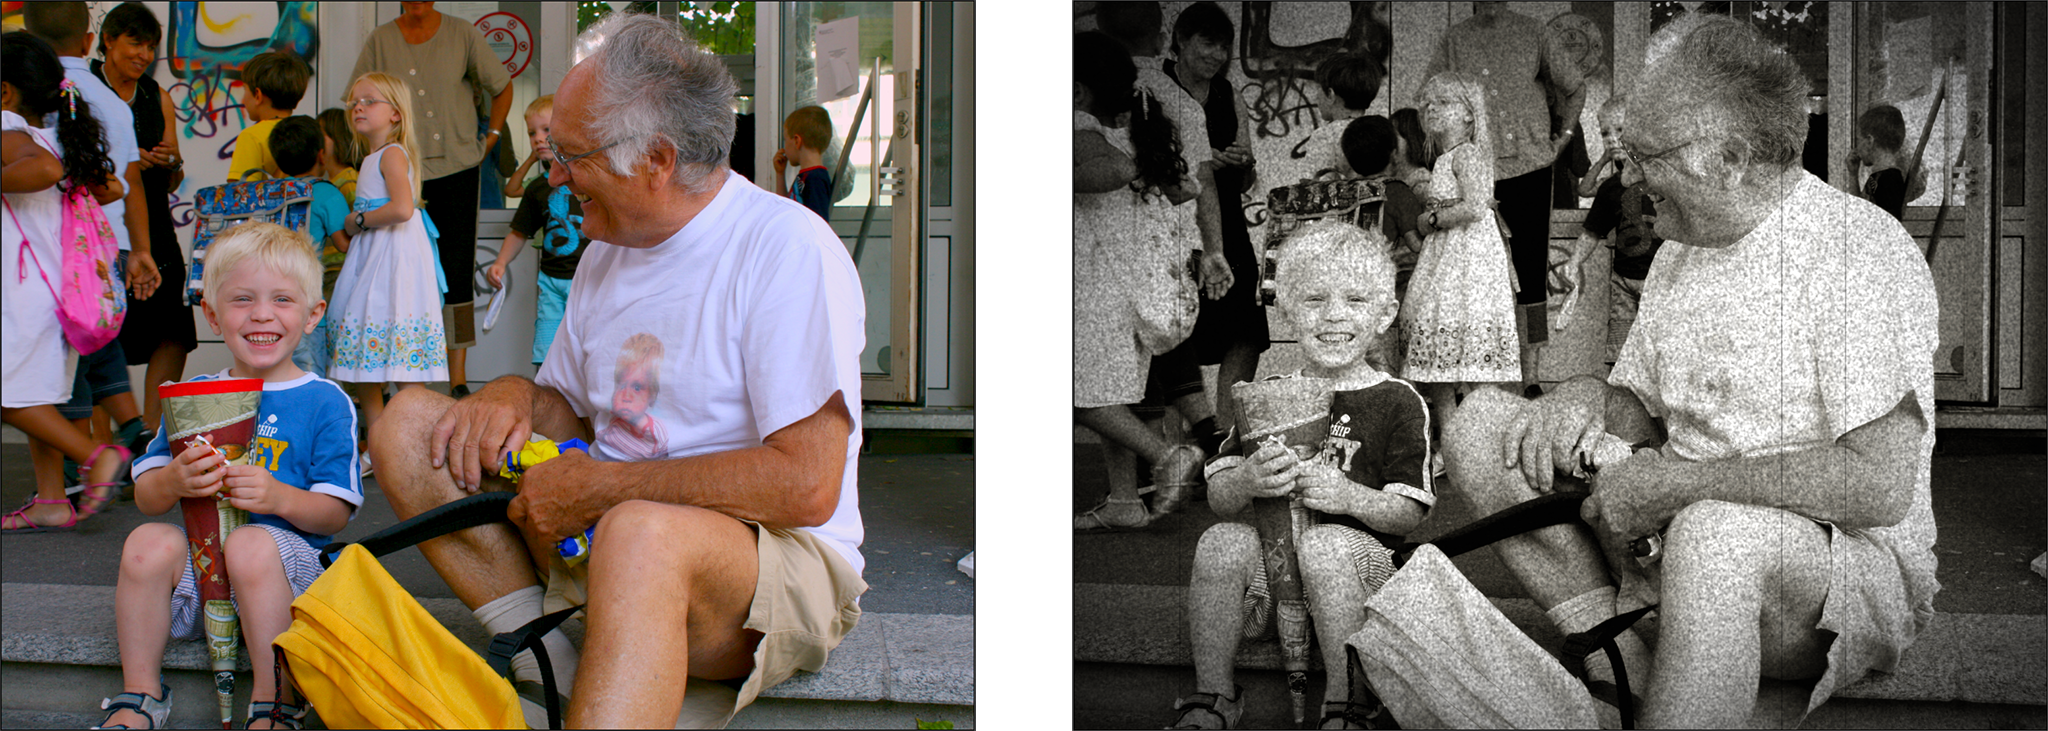
Black & White
Turns a color image or video into black and white. Use the sliders to influence the black & white transformation. The exact settings of these sliders highly depend on the image content. Experiment with the red, green, and blue sliders to achieve the desired black & white effect.
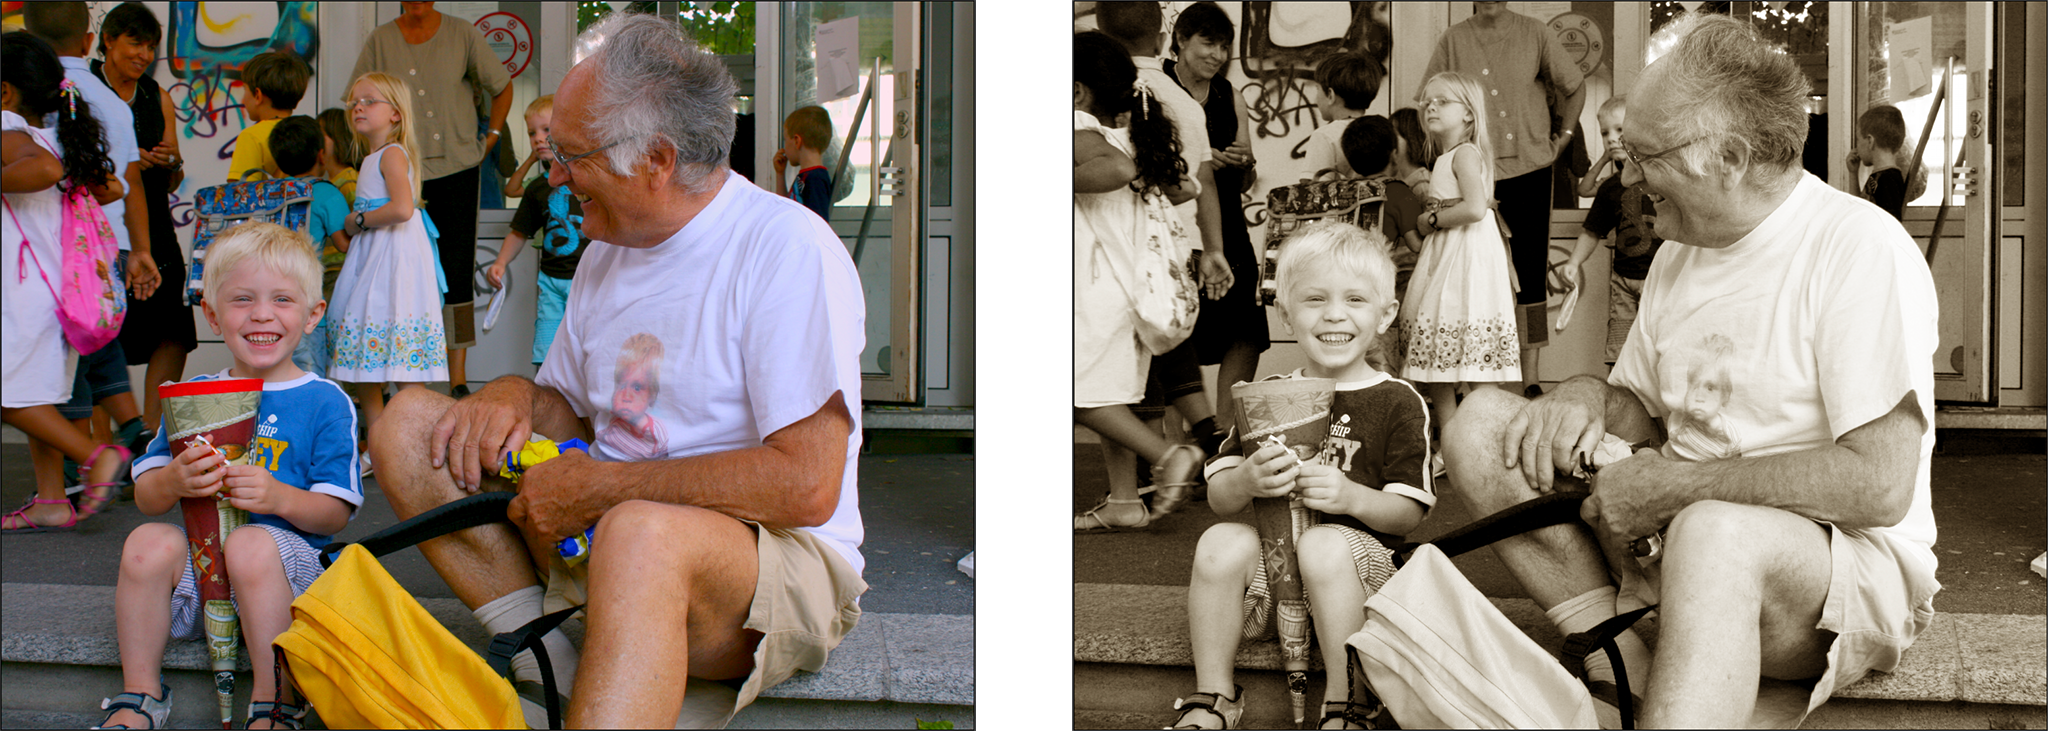
Sepia
Creates a sepia image with warm or cool tint. Warm tinted sepia images can be used to create a nostalgic effect.
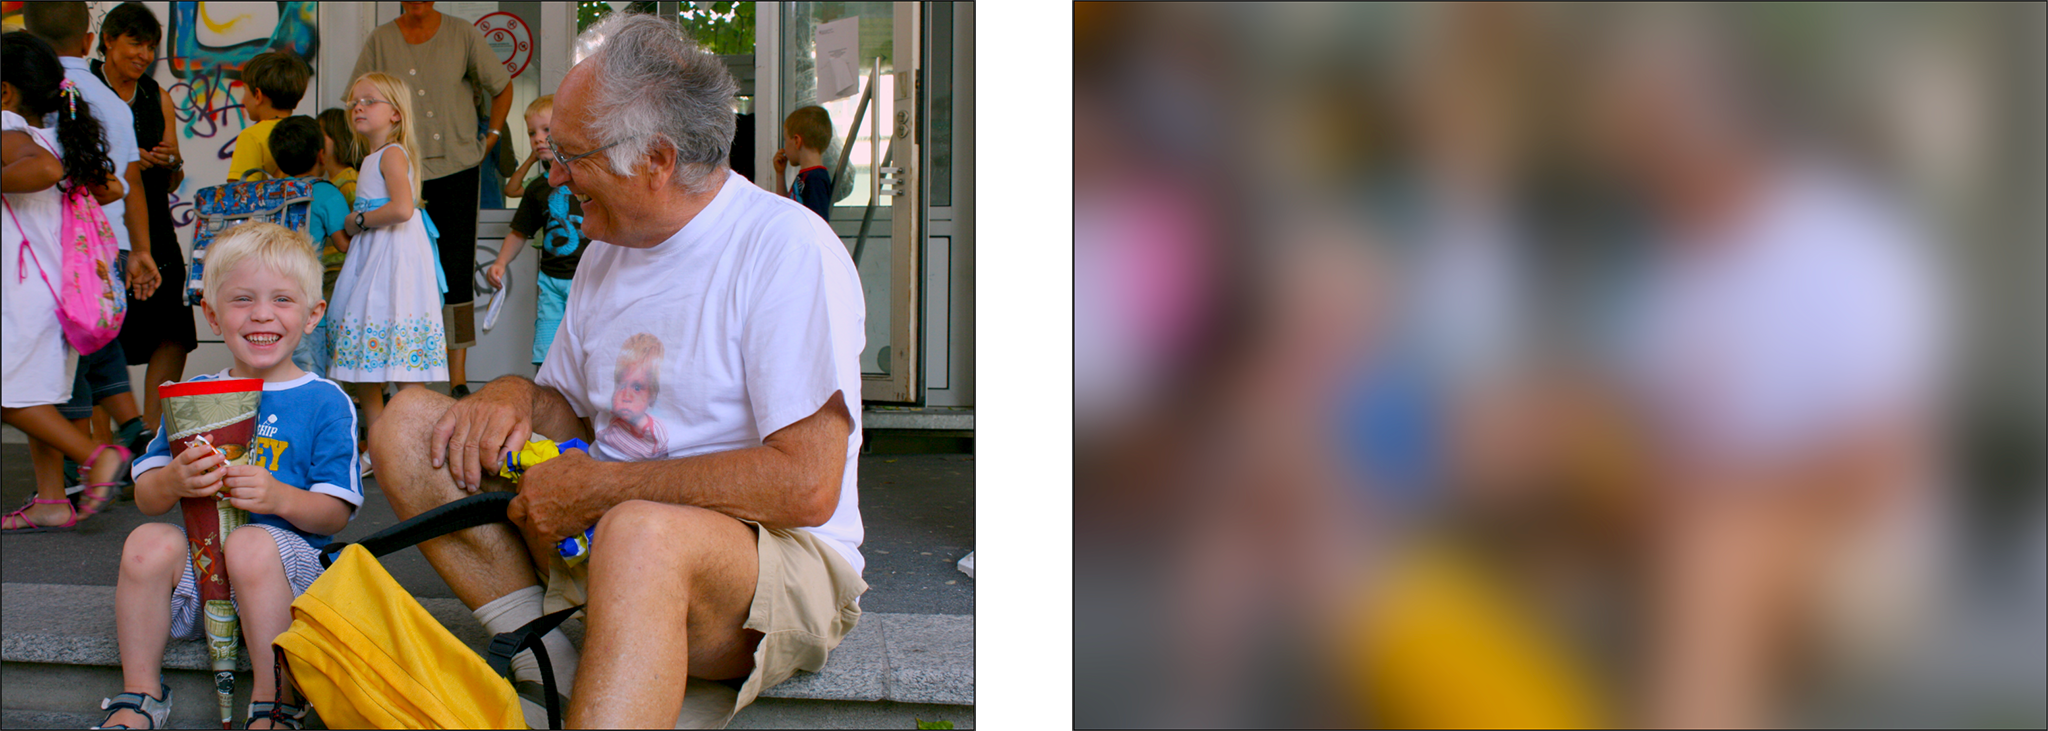
Blur
This effect lets you blur an image or video. This is especially helpful if you place a text layer on top of the blurred layer, to make the text more readable.
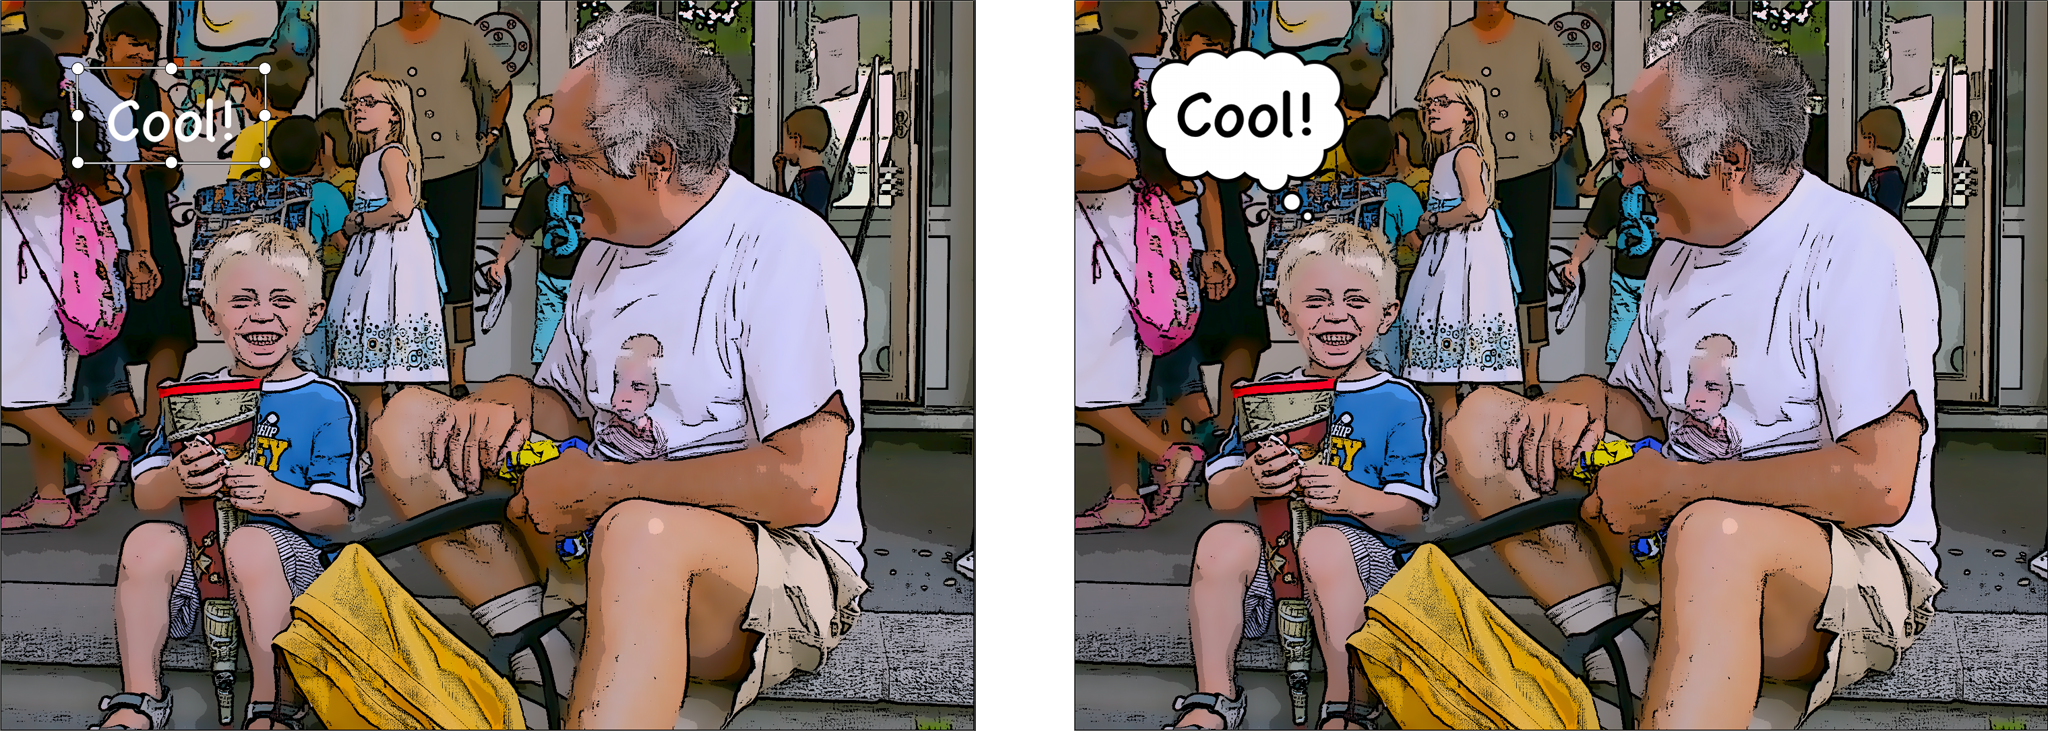
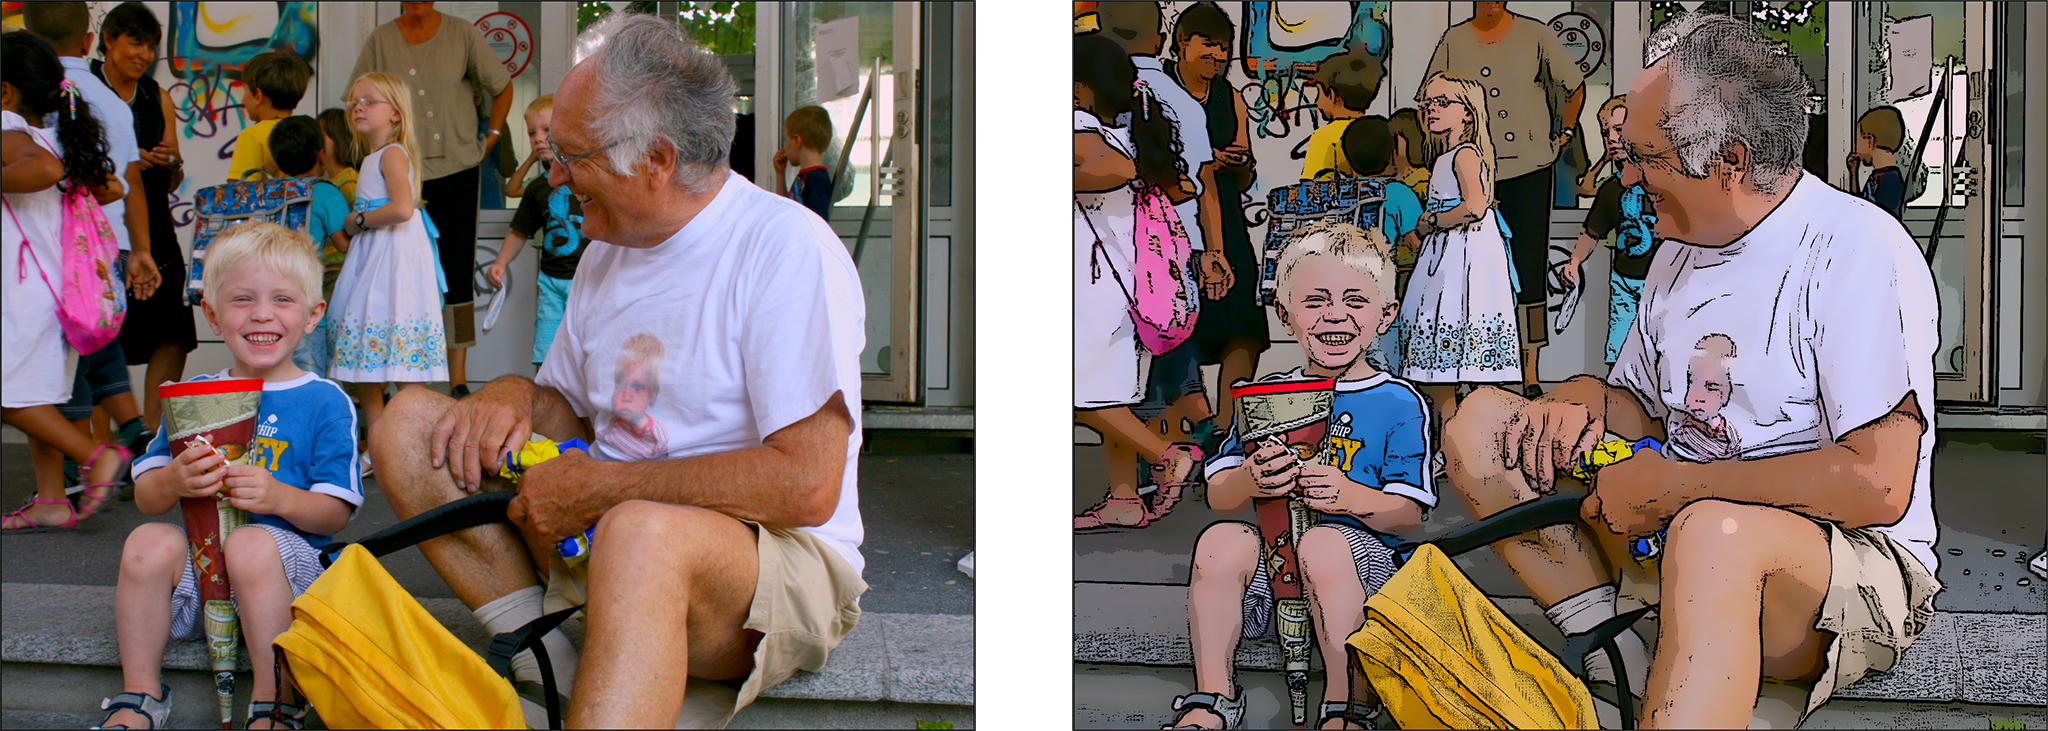
Comic
Applies a comic-book like effect to a regular photo or video. Less Detail means flatter areas. Ink Stroke controls the width of the black lines. Color determines how much color gets applied to the drawing, and Ink Fill determines which percentage of the layer that gets filled with completely black ink. This can be used to achieve a low-key effect. The exact settings for the Detail, Ink Stroke, Ink Fill, and Color sliders highly depend on the image contents – so experiment to achieve the desired effect.
Watercolor
Applies a painted watercolor effect to an image or video. Reduce the Detail to make the image flatter. Using a lower Color coverage usually looks better for this effect.

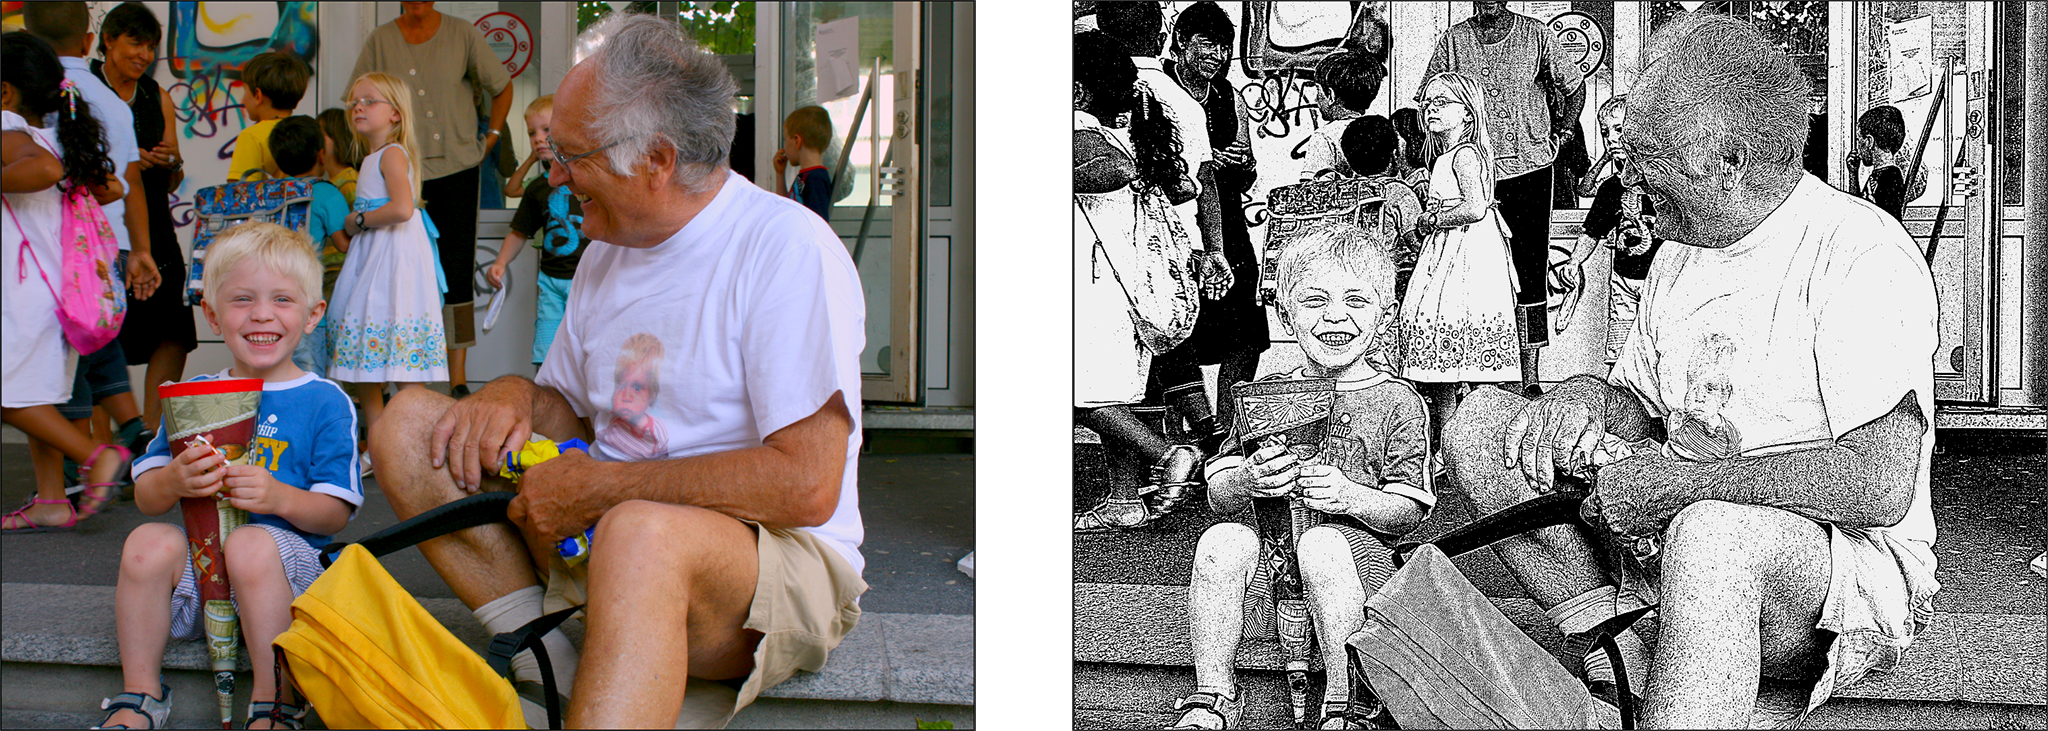
Etching
Applies a printed etching effect to an image or video. This is a purely black & white effect that works well with very detailed images. The exact settings of Graininess and Darkness depend on the image contents, so experiment to achieve the desired effect.
Woodcut
The black & white woodcut effect works better with less detailed images. The exact settings of Detail and Darkness depend on the image contents, so experiment to achieve the desired effect.

Film
Applies a Super-8 like film effect to all layers of a slide. This includes Grain, Scratches, Blotches, Jittering and Flickering. This effect is animated over time. In combination with the Black & White or Sepia and Vignette effects a very nostalgic look can be achieved.
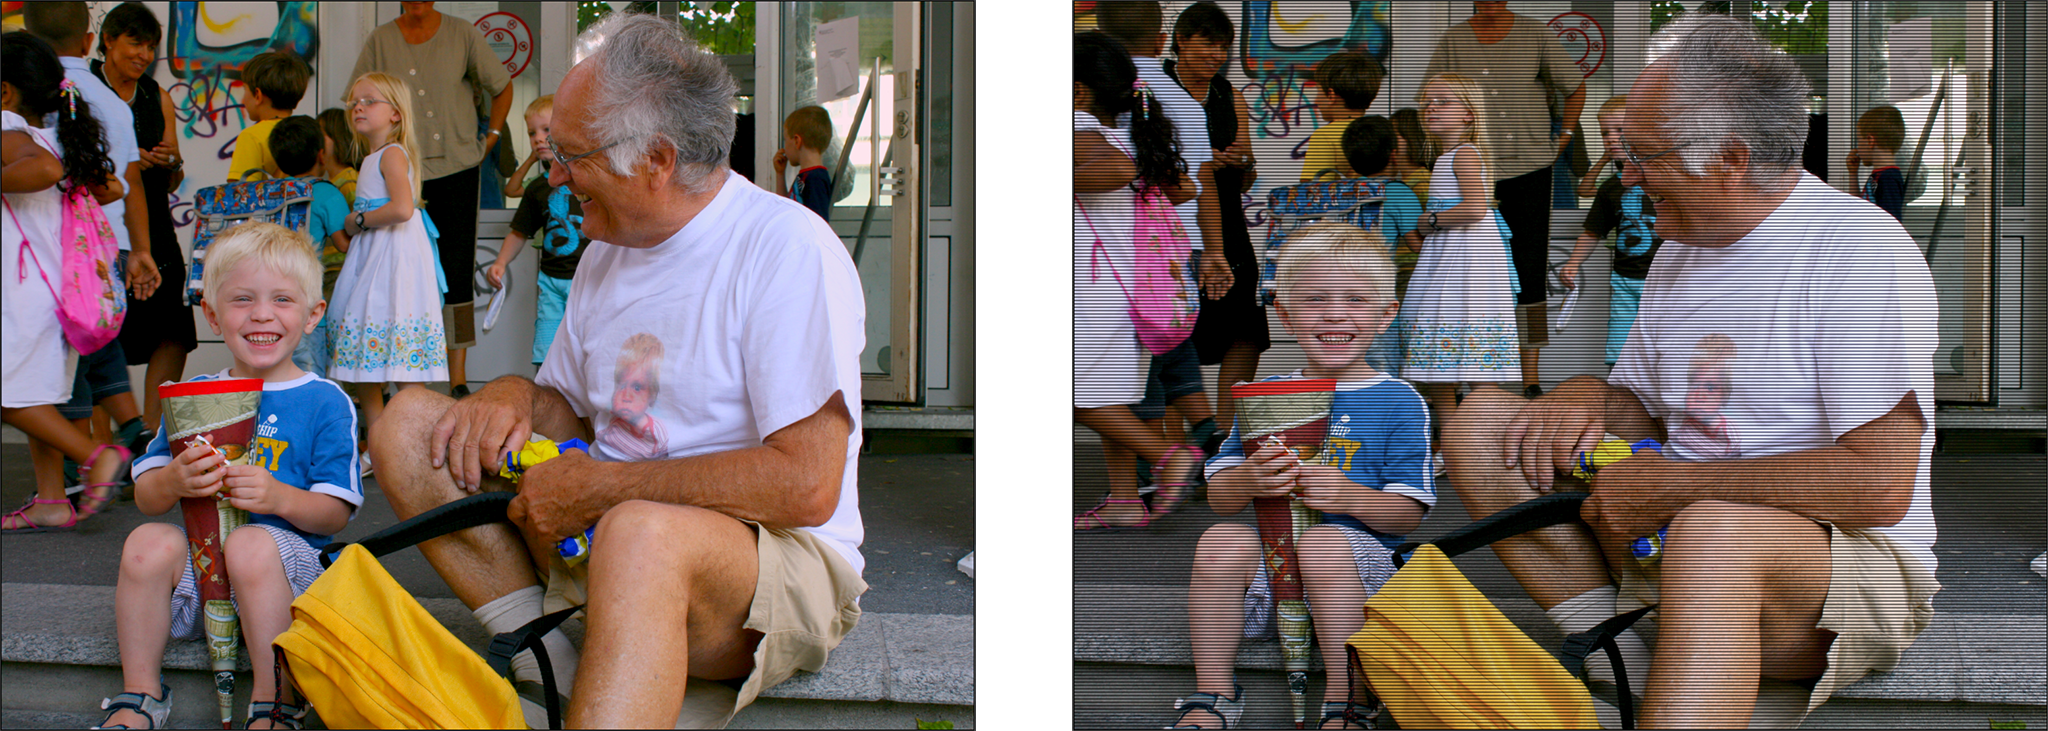
Video
Applies an interlaced video effect to all layers of a slide. The line width depends on the Stage size of your slideshow. You may want to also add a Vignette effect to achieve an old-style video look.
Vignette
Use this effect to darken (or lighten) the corners of all layers of a slide. This can be used to either achieve a vintage look, or to compensate lens vignetting in old images.
Lens Distortion
Use this effect to compensate distortion in images or videos taken with wide angle lenses. An obvious example are videos taken with action cams (e.g. a GoPro).
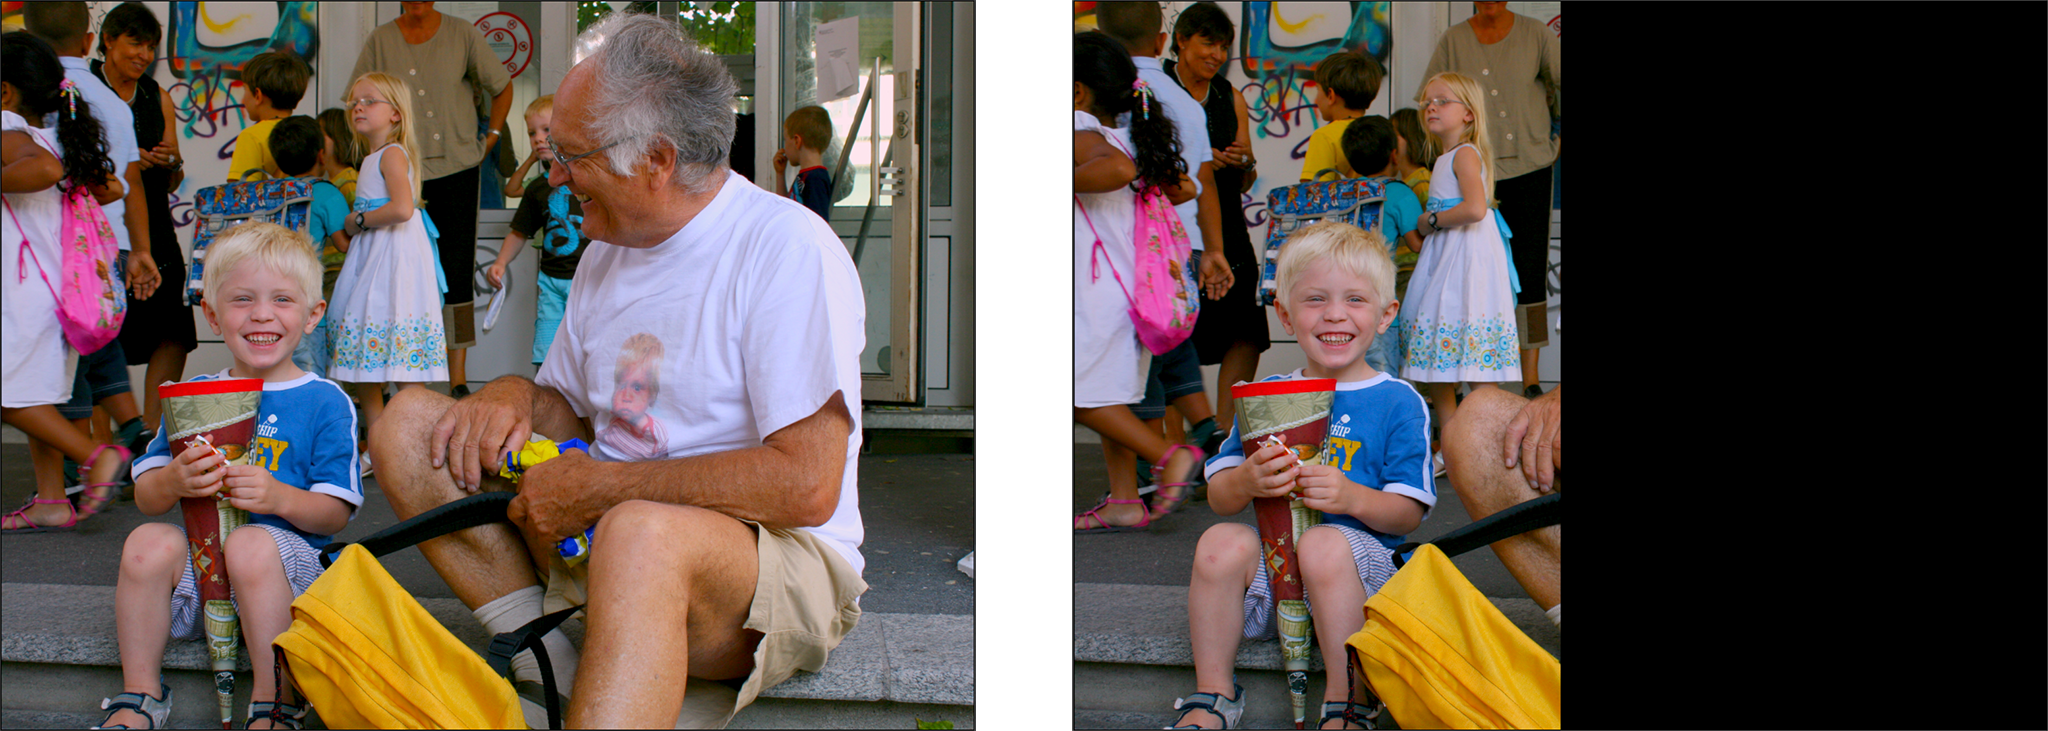
Mask
Apply a mask to an image, video, or text layer to crop away a parts of the layer. The mask can the static or animated, and it can be animated independently of the layer itself. Read more about creating and editing layer mask in Using Masks.
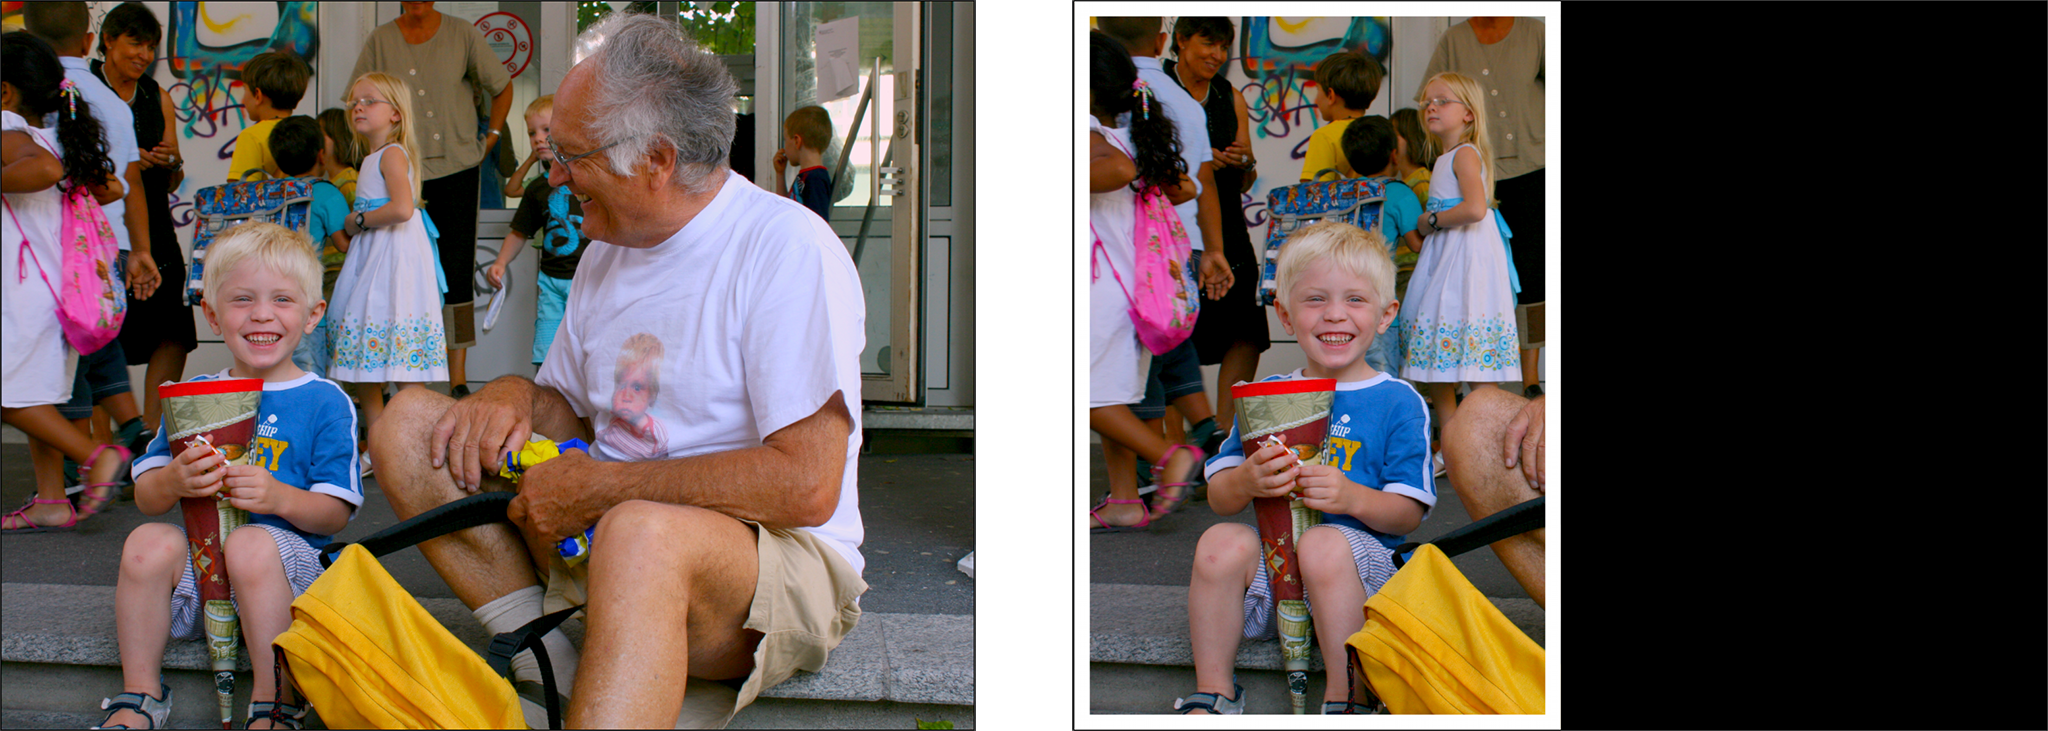
Border
Applies a border of specified width and color to a layer. You can choose whether the border is placed inside, centered, or outside the layer edges. If the layer has a mask, then the border is applied to the mask.
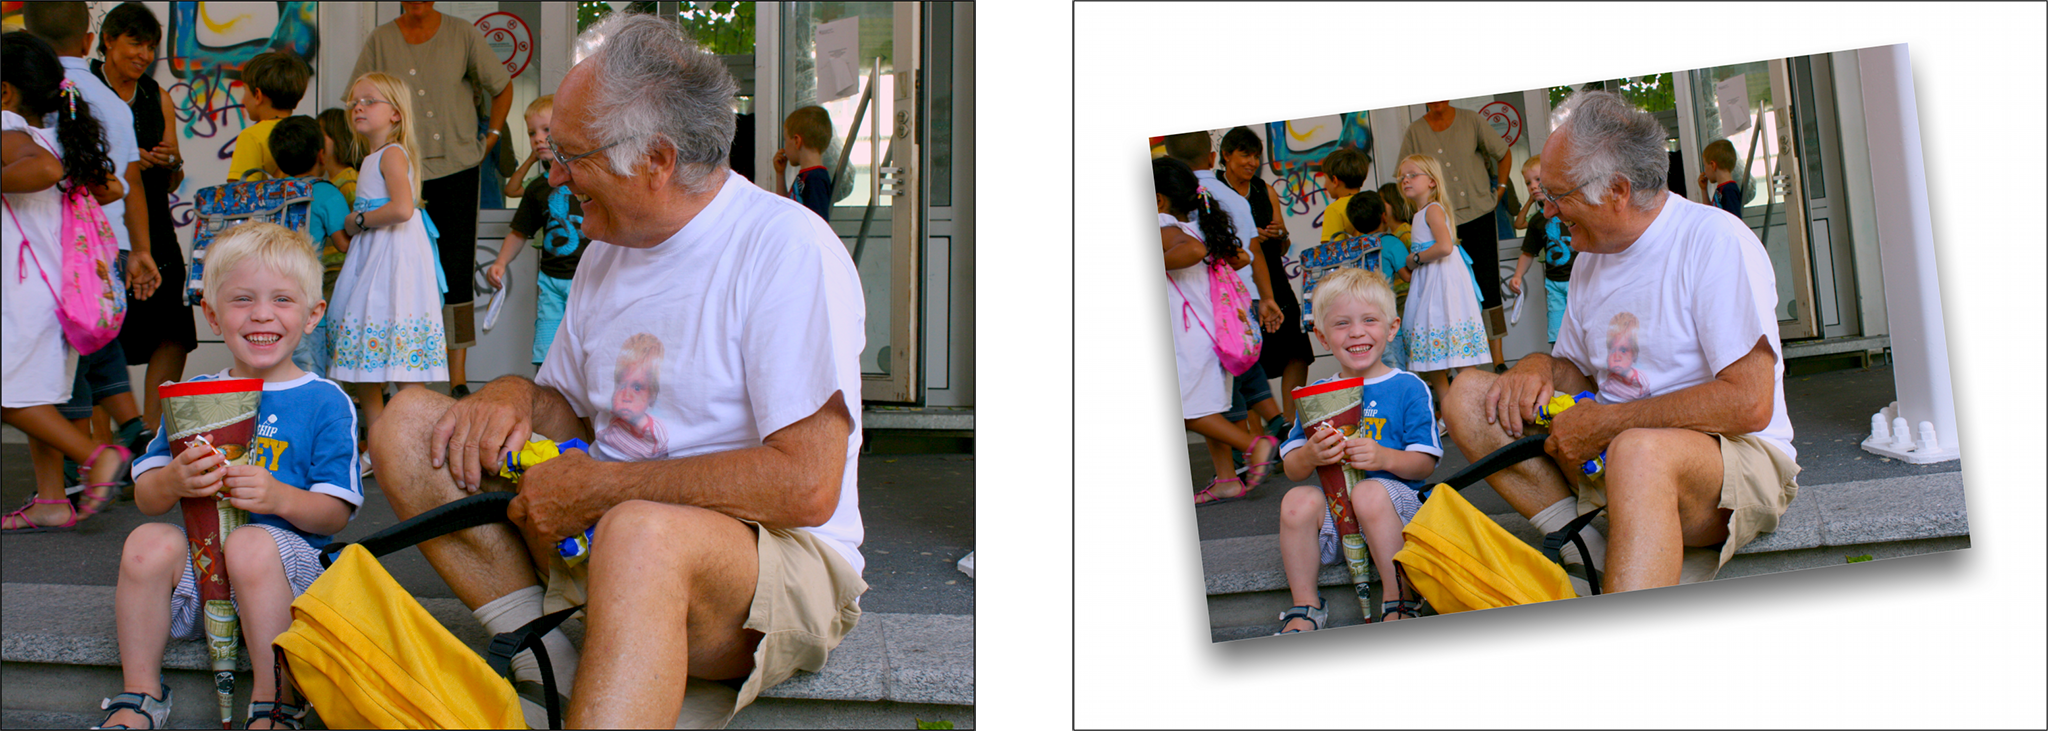
Shadow
Applies a shadow of chosen color, offset, angle, and blur to a layer. Please note that the angle of the shadow is always relative to the Stage, and thus independent of the rotation of a layer. If the layer has a mask, then the shadow is applied to the mask.
Background
This effect is only available for text layers. It lets you place boxes, speech bubbles, or though bubbles behind text layers. There are numerous buttons and sliders to control the appearance of these bubbles, so experiment to achieve the desired effect.
Speech and thought bubbles are especially useful in combination with the comic effect. Simple box shaped backgrounds can also be used for a lower-third effect.