
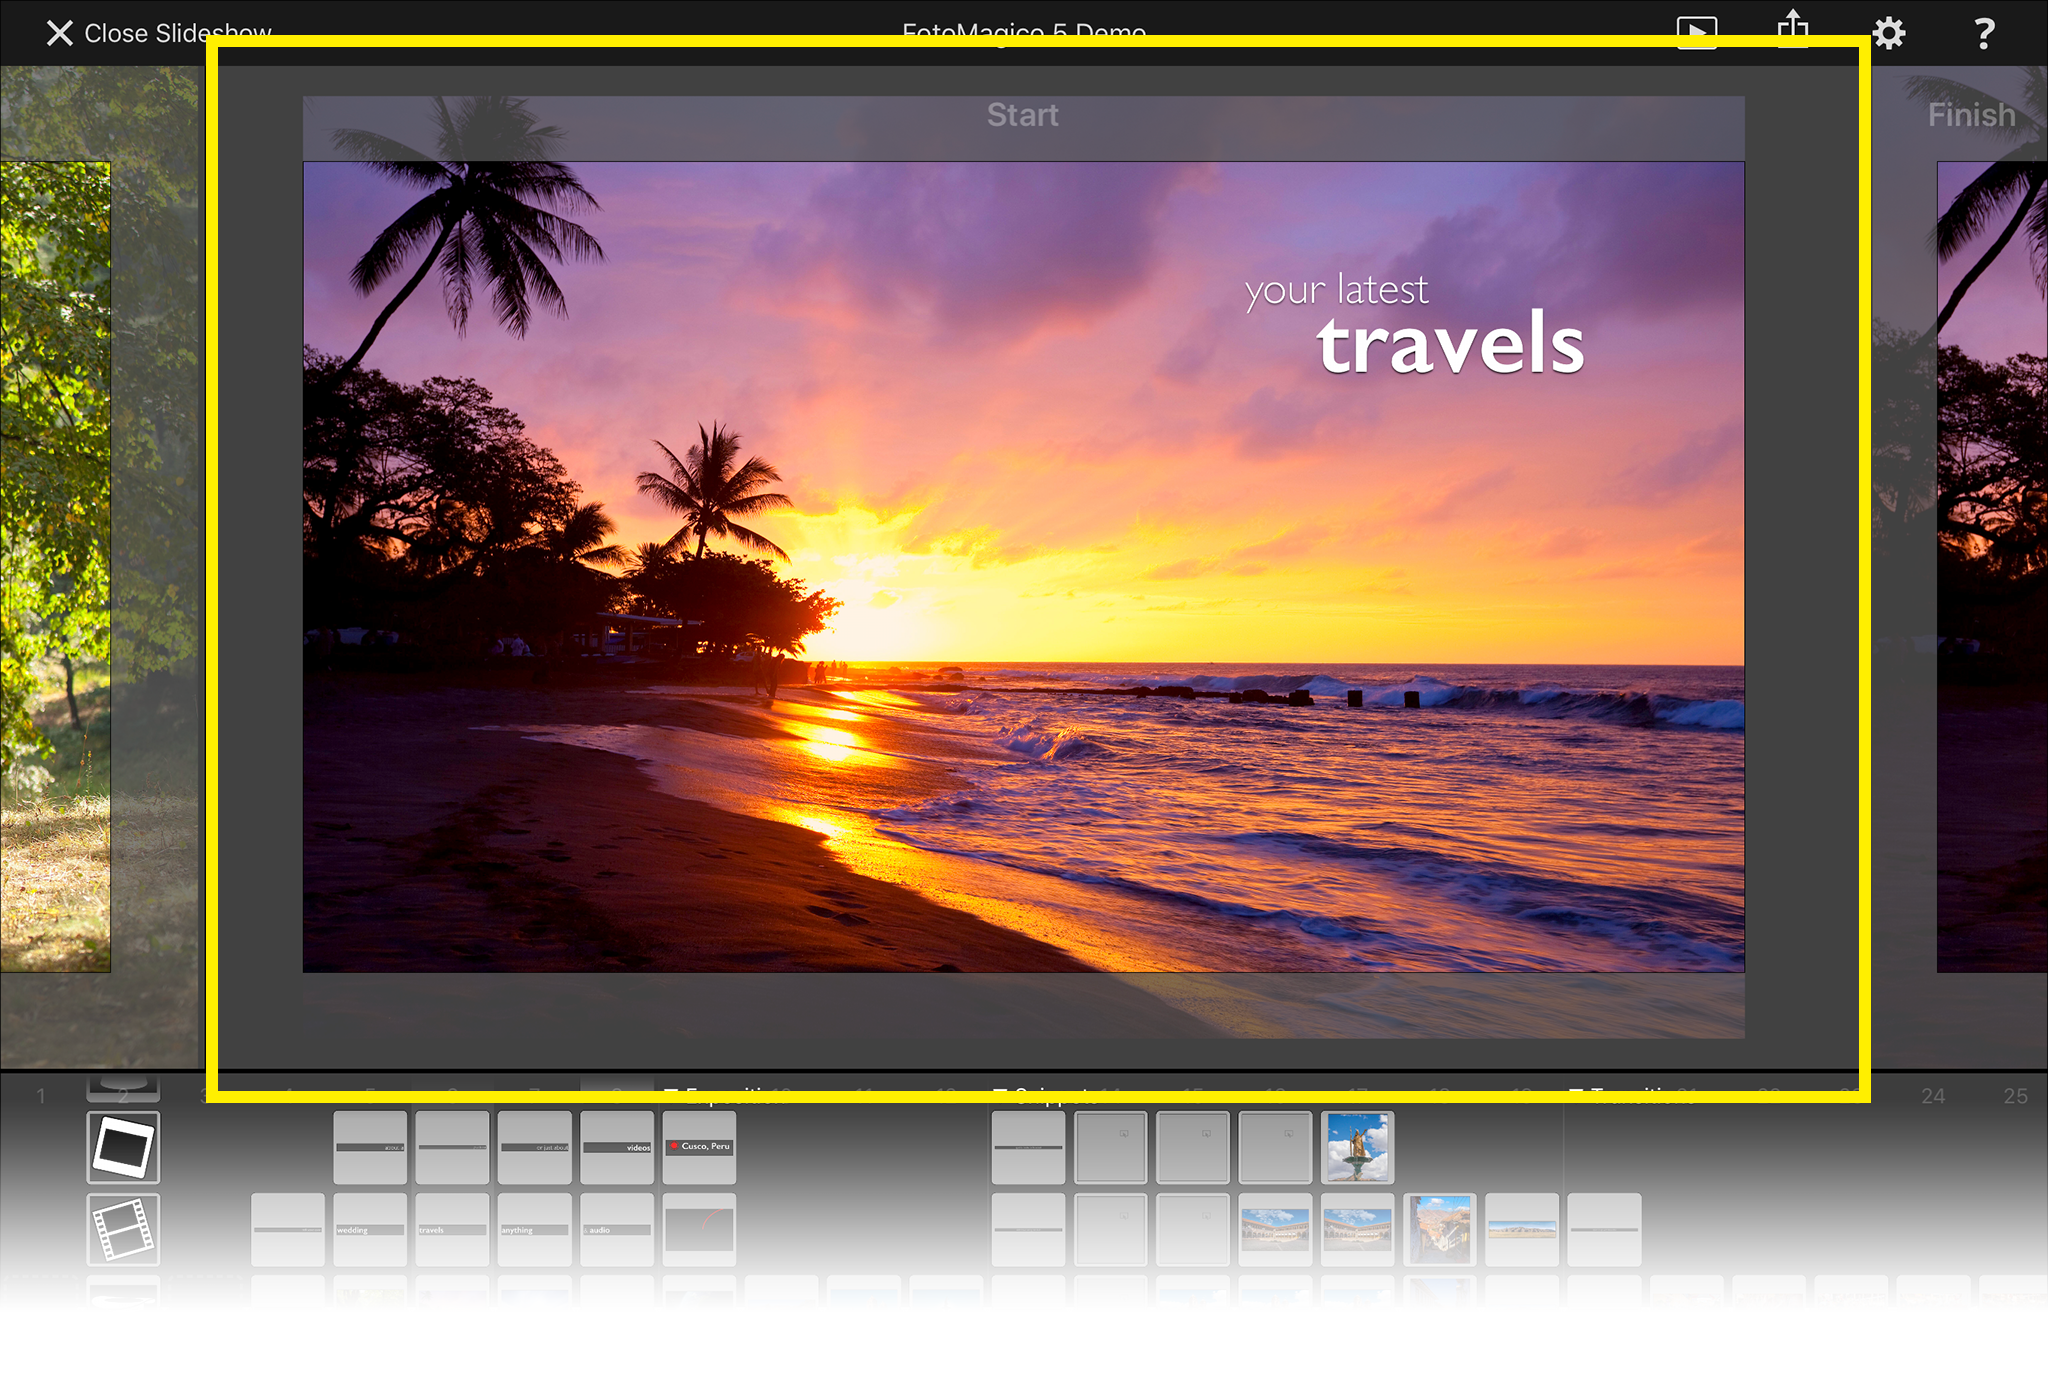
The Stage is where you design the the visual look of each single slide. Here you can position, zoom, and rotate the layers, and you can define animations. To select a particular slide that you want to edit, simply tap on it in the Storyboard. This slide is now displayed in the middle of the Stage area.
Positioning Layers
To position a layer in the Stage, tap and drag it around. Release your finger once you are satisfied with the position of the layer.
To zoom or rotate a layer, use the two-finger pinch gesture. By zooming a layer larger than the Stage, you are essentially cropping away parts of the layer. Rotation can be used to e.g. level slightly tilted horizons in landscape images, or for other creative purposes.
Animation
Animation can be used to great effect to focus the attention of the audience on particular parts of an image. Documentary film maker Ken Burns pioneered this effect, which is why it was named after him. While animation can add a lot of polish to your slideshow – a word of caution – don’t over-do it. Too many (and too fast) animations can quickly become annoying!
Depending on the settings in Animation Preferences, animation will be automatically applied to any images or videos that are added to the slideshow. Hop on over to Settings to review those settings, and change them to your liking if necessary.
Animations can also be edited manually. To use animation it must be enabled for the current slide. Double-tap on the slide in the Storyboard to open the Options panel and enable animation if it was turned off.
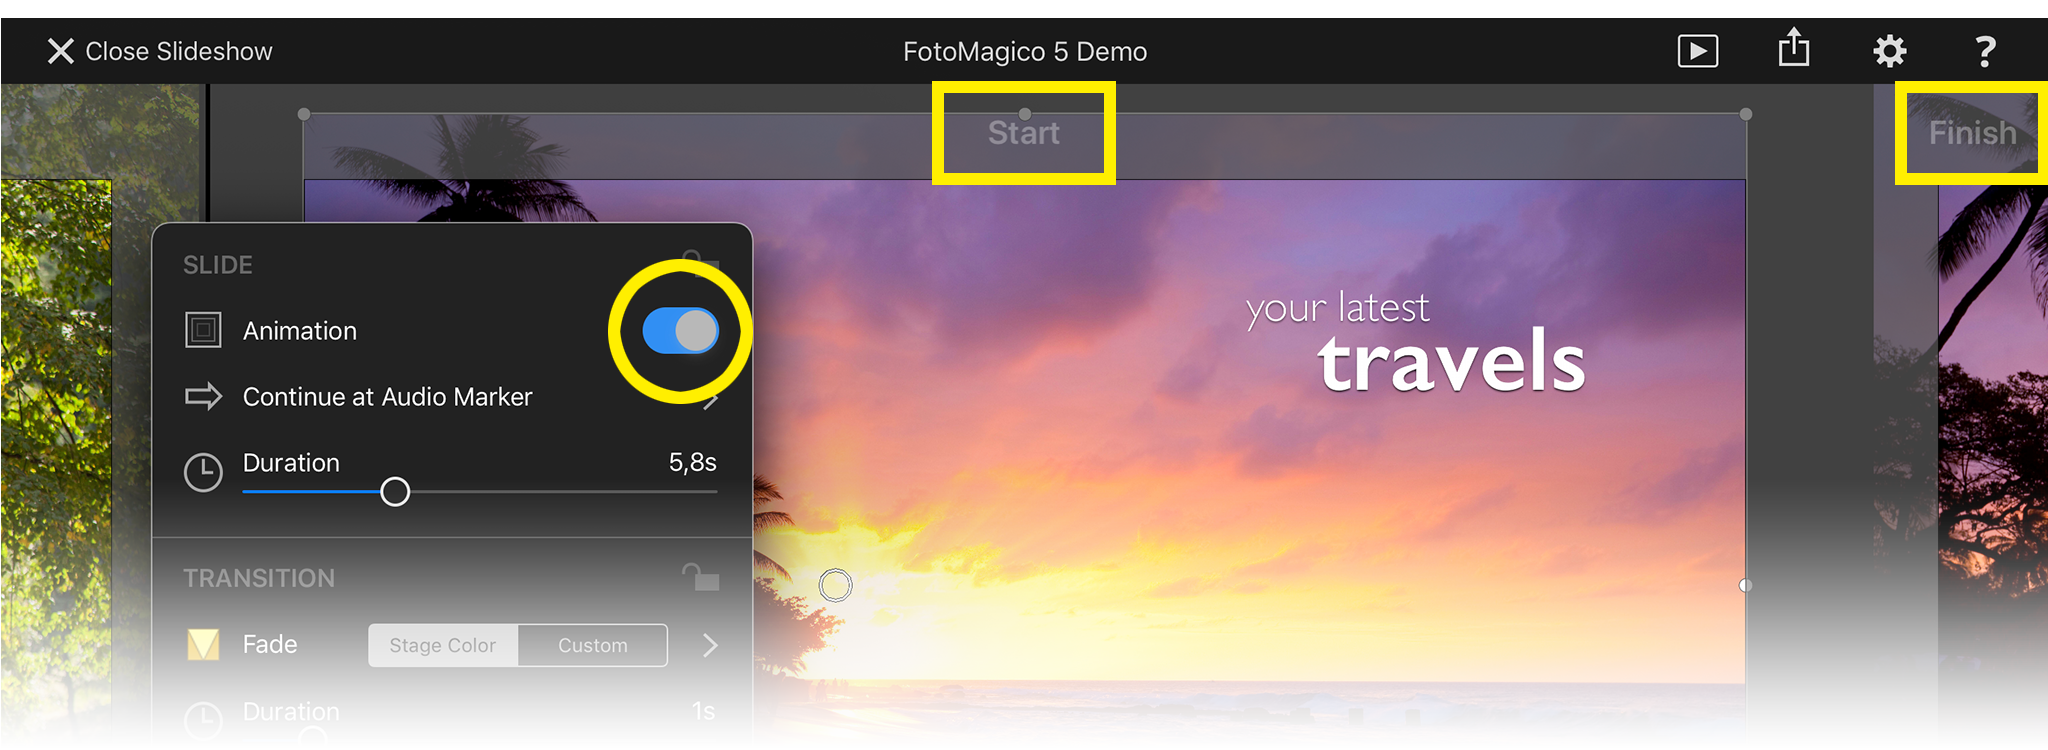
The Stage will now display the same slide twice, once for the start of the animation, and to the right for the finish of the animation. Tap on the left or right edges of the screen to move the start or finish to the center of the screen.
First go to the Start and position all layers for the beginning of the animation. Then switch to the Finish and position all layers where they should be at the end of the animation. Please note that the duration of the slide determines how fast this animation will look.
Navigating Slides
While you can jump to any slide by just tapping on it in the Storyboard, you can also navigate by tapping (or swiping) on the left and right edges of the Stage.
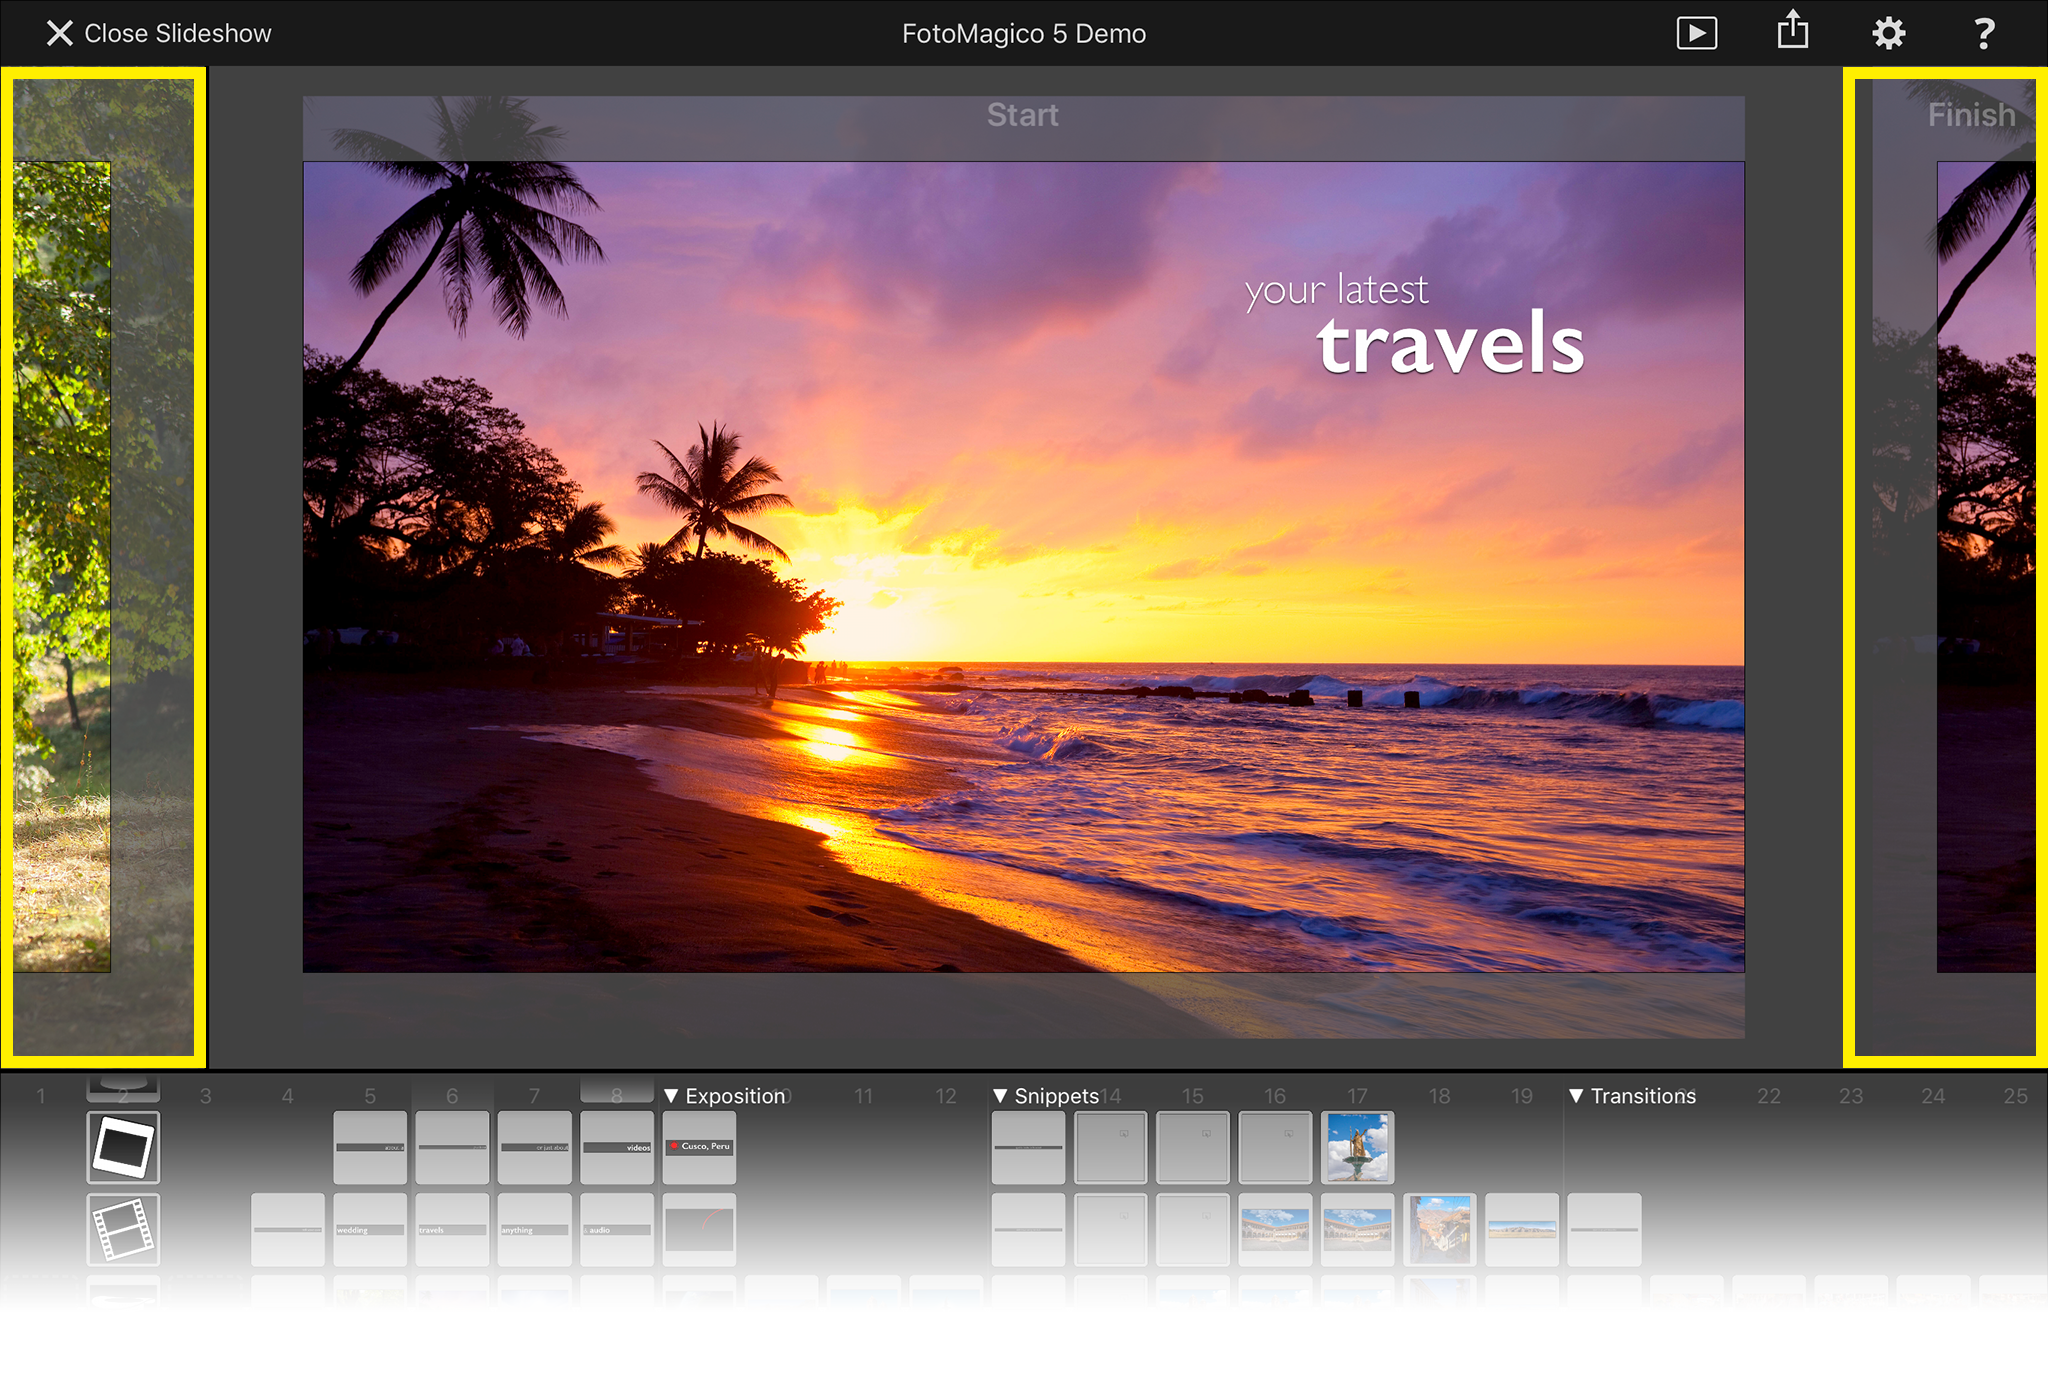
Tap on the left edge to navigate to the previous slide – or in case you are looking at the Finish of an animated slide, then this will navigate to the Start of this slide.
Tap on the right edge to navigate to the succeeding slide – or in case you are looking at the Start of an animated slide, then this will navigate to the Finish of this slide.
Layer Options
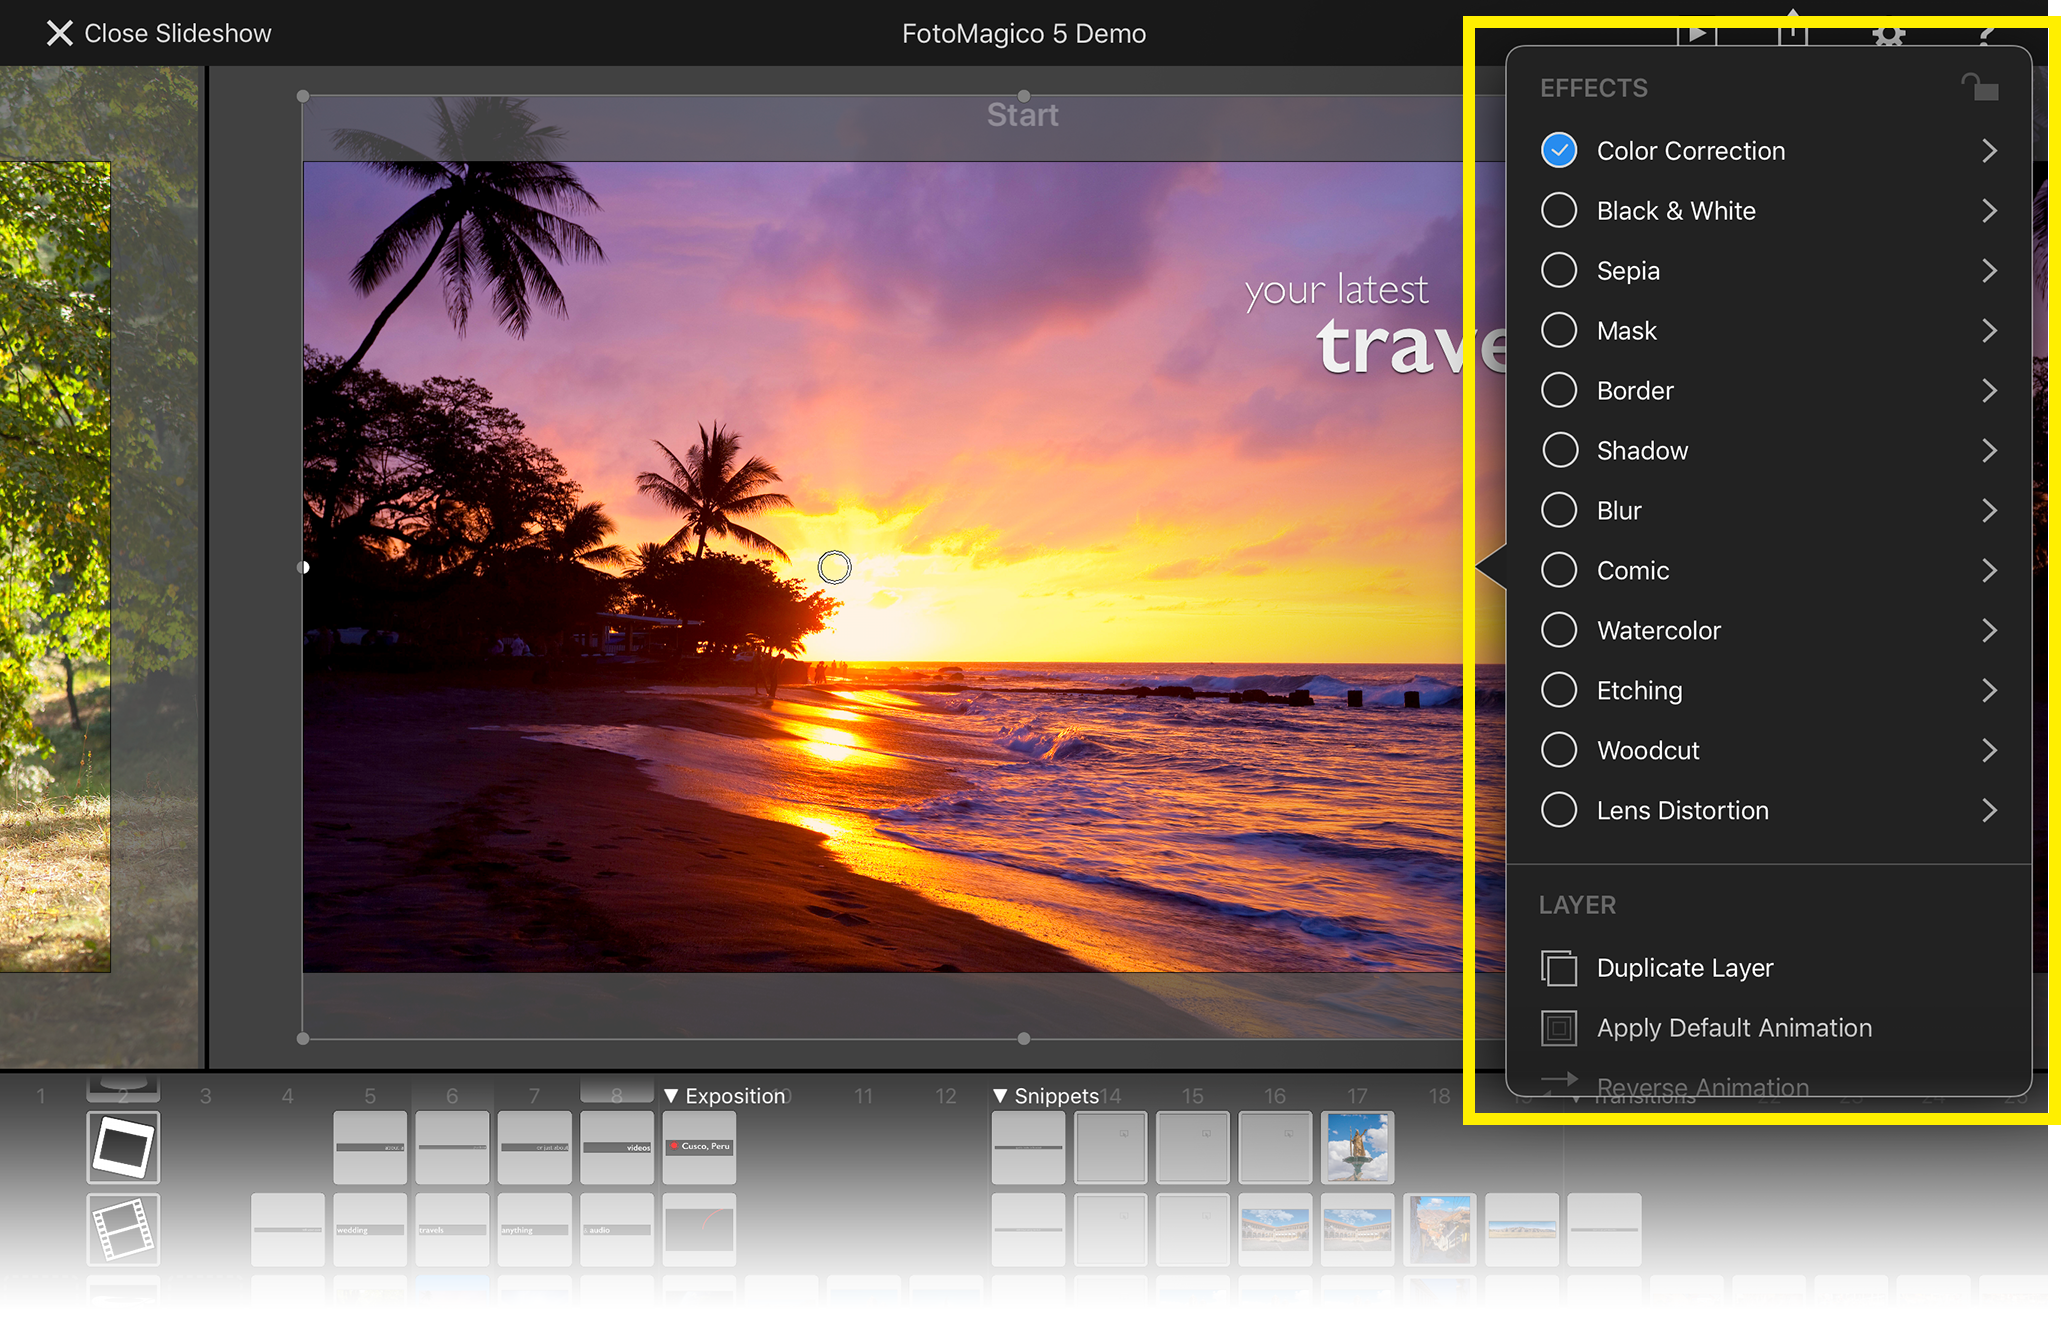
Double-tap any layer in the Stage to show the Options Popup. In this popup you can change various parameters for this layer.
Snapping to the Grid
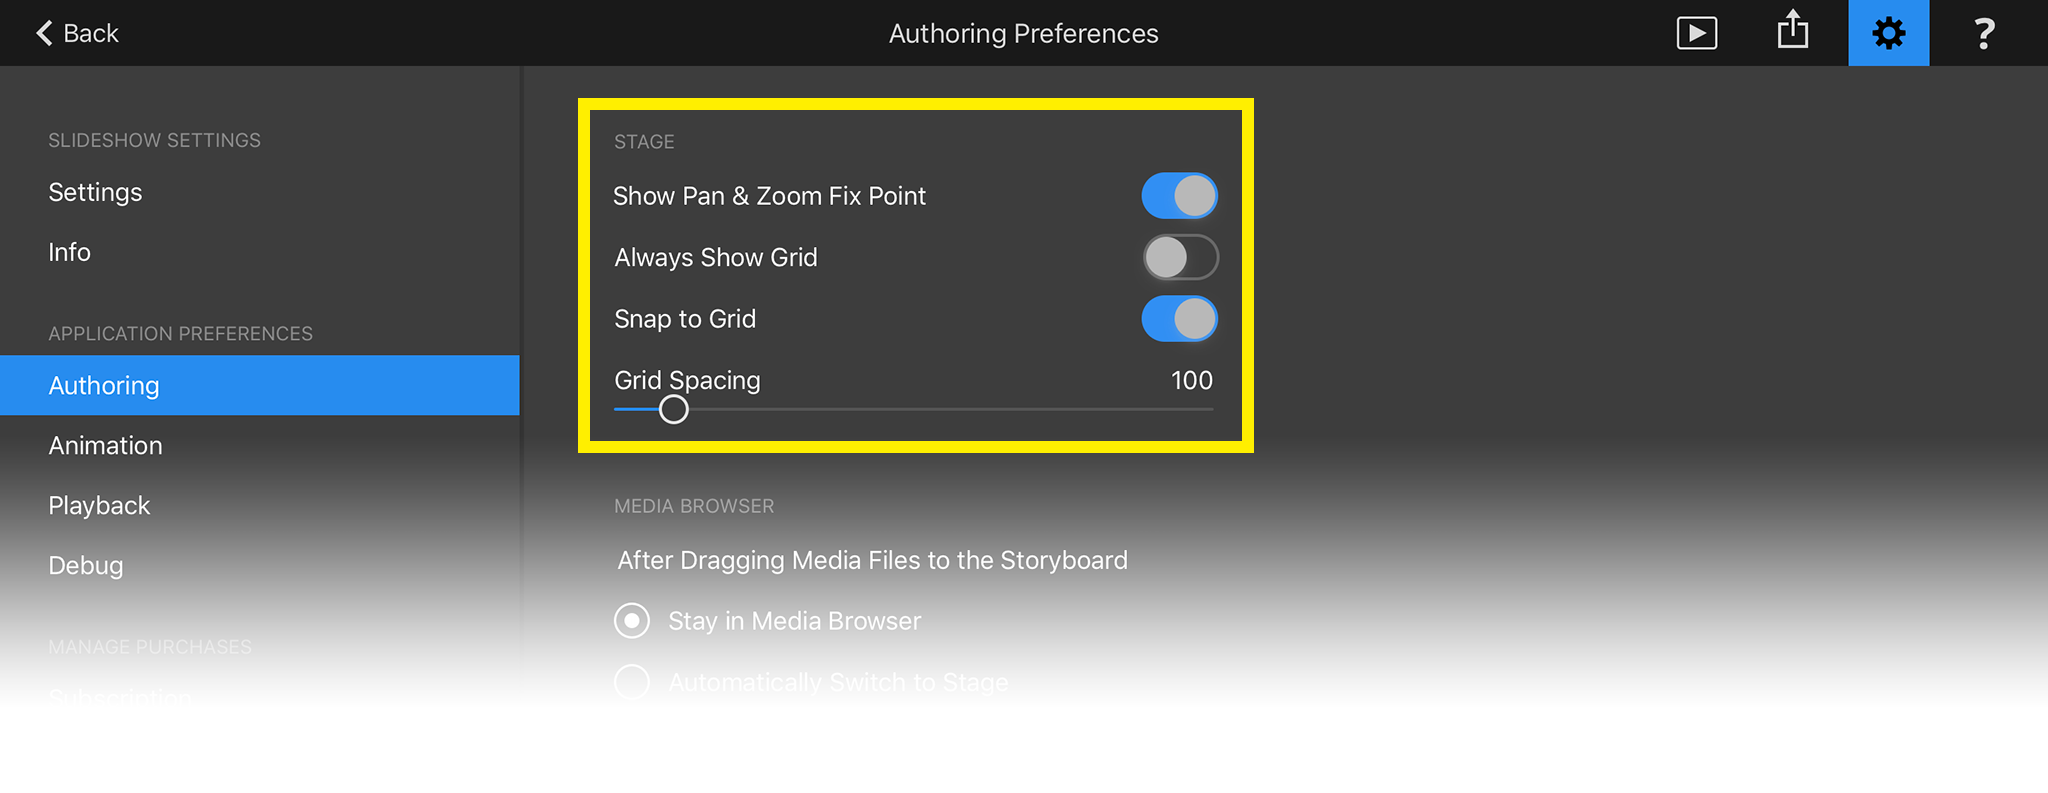
Precise positioning of layers on the Stage can sometimes be a little tricky, using fingers on a touch screen. To help with this you can enable grid snapping in the Settings. Hop on over the the Settings and enable snapping if it is currently disabled. There you can also define the grid spacing.
With snapping enabled, a grid will be displayed while you are dragging around a layer. Whenever any layer edge gets close the the Stage edges or a grid line, it will automatically snap to that edge or grid line. A small snapping sound will be audible and the edges that is snapped will be highlighted momentarily.