
Tap on the Settings button in the top toolbar to reveal the Settings & Preferences screen.
The sidebar on the left lists several pages in three groups: Slideshow Settings, Application Preferences, and Manage Purchases. The slideshow settings apply only to your current slideshow, while the application preferences apply globally to the whole app.
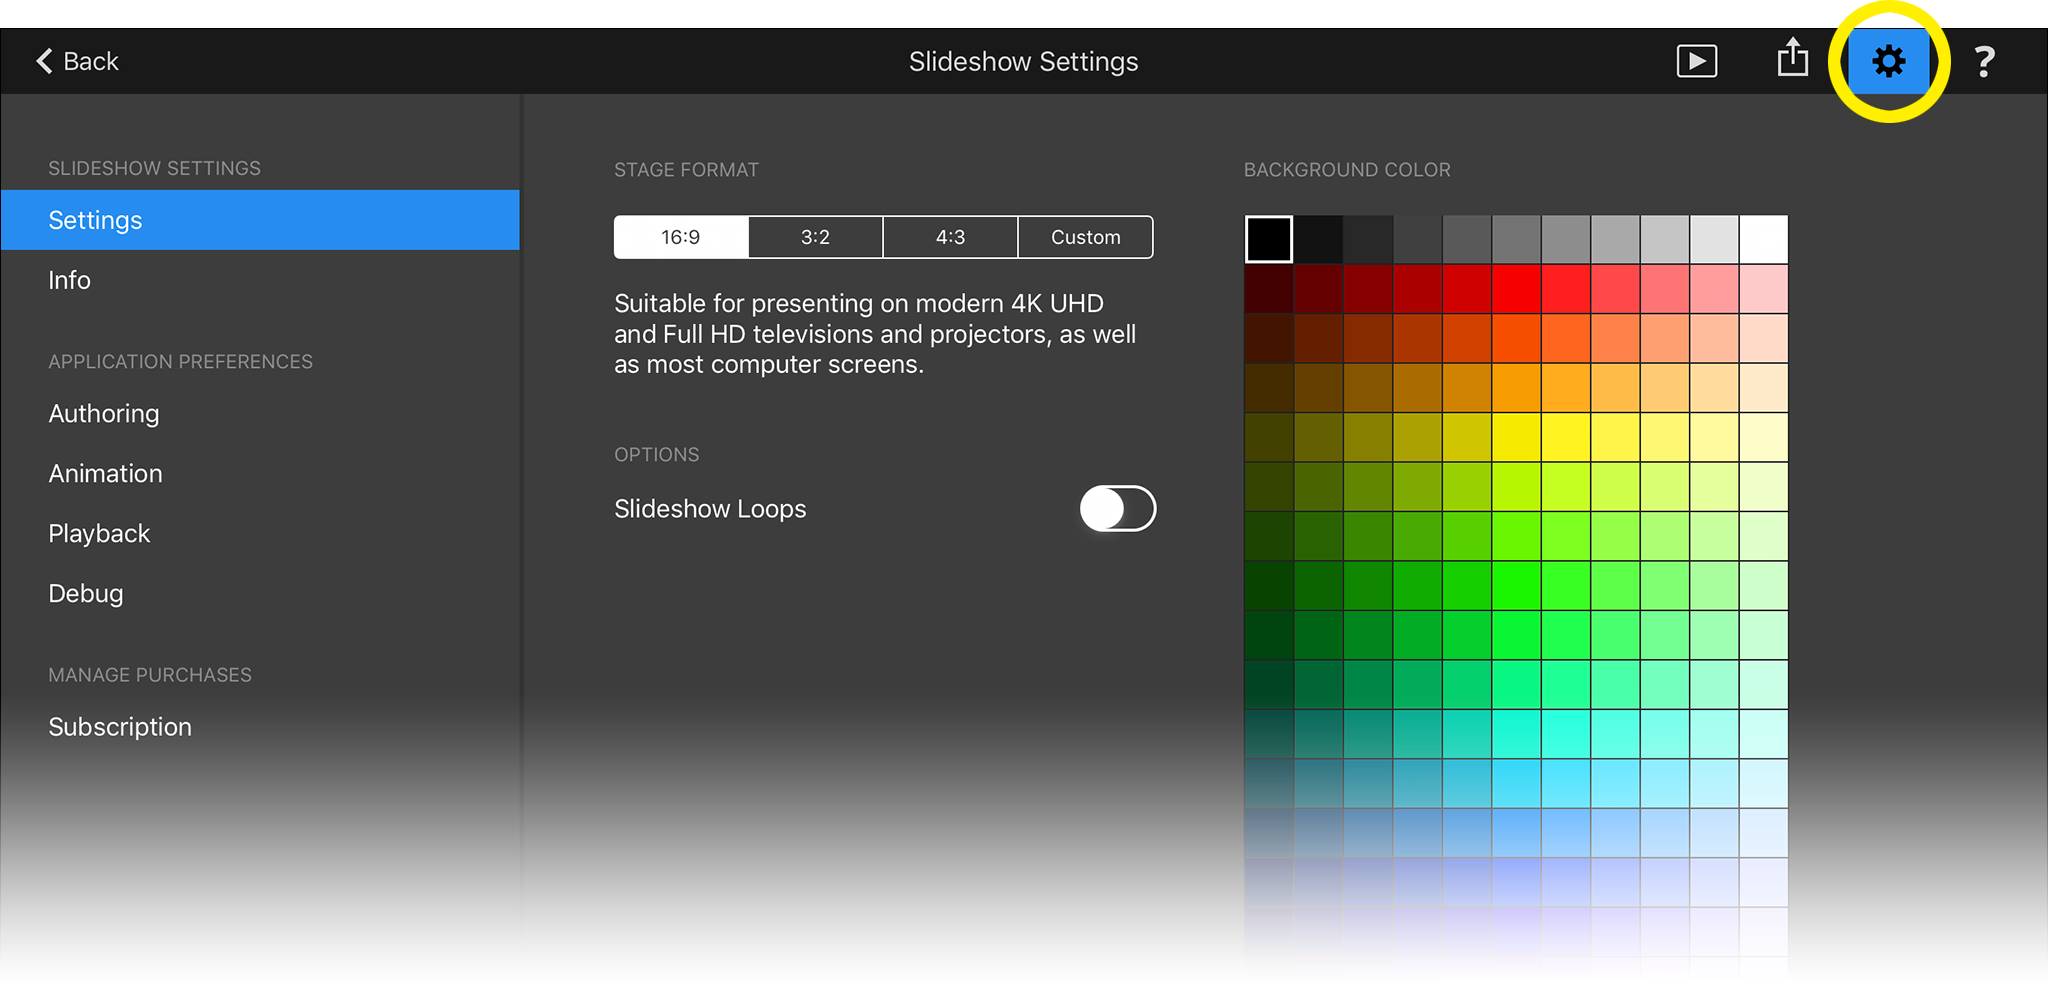
Slideshow Settings
This screen contains the controls for Stage Format, Slideshow Loops, and Background Color.
Tap on one of the pre-defined choices for the Stage Format, or enter a Custom format by entering something like “1:1” or “1920×1080” or “2.35”. The default format is 16:9.
If Slideshow Loops is enabled, the slideshow will repeat endlessly during playback. Of course you can always interrupt playback by tapping the Stop button.
The Background Color is displayed behind all layers of a slide. There is only a single background color for all slides of a slideshow.
Slideshow Info
On this screen you can enter metadata information about your slideshow. You can enter the Title, Subtitle, and Description for your slideshow. You can also enter the Author (your name), Organization (your company), and a special Copyright text.
All of this info is used by text placeholders in Adding Text, so it is recommended to always enter this info so that you benefit from the automatic behavior of these text snippets.
Authoring Preferences
Show Pan & Zoom Fix Point determines whether a small circle that indicated the fix point of an animation will be displayed. This fix point is essentially the point in an image that the attention of the audience will be directed to. The fix point can be dragged with the finger – in this case the animation will automatically be adjusted accordingly.
When Alway Show Grid is enabled, a grid will be permanently displayed in the Stage. When disabled the grid is only displayed while you are dragging a layer. Grid Spacing controls the size of the grid.
When Snap to Grid is enabled, then layers will snap to the grid or to the Stage edges. This usually helps to align layers when positioning them on the Stage.
When dragging media files from a Media Browser to the Storyboard, you can choose one of two different behaviors:
- Stay in Media Browser if you want to continue dragging more media files to the Storyboard
- Automatically Switch to Stage if you want to immediately position the new layers in the Stage
Animation Preferences
Here you can determine which kind of animation is applied to layers that are newly added to your slideshow. These settings are also relevant when selecting the Apply Default Animation command from the Options Popup.
First you select the desired animation speed. A slower speed almost always looks more professional.
Then select the kind of animation for each type of media file separately: Horizontal Images, Panorama Images, Vertical Images, Square Images, Videos, and Text.
When enabling Keep Completely Visible, an image with a different aspect ratio than the Stage will never be cropped, but will be letterboxed or pillarboxed instead.
Layers can be zoomed In or Out. Panning can be Up or Down for vertical images, or Left or Right for panorama images. Alternate always alternates between for first two choices, e.g. zoom in, zoom out, zoom in, zoom out, etc…
Text layers have one extra option: When Scroll Long Text is enabled this creates a rolling credits style effect for multiline text. If your text is only a single line that is wider than the Stage, it creates a horizontally scrolling stock ticker style effect.
Playback Preferences
When Fadeout Toolbars When Playback Starts is enabled the toolbars are automatically faded out shortly after playback starts. You can show the toolbars again by tapping anywhere on the screen. Tap once more to hide them again.
When Automatically Fadeout Connected Screens is enabled, then any time you connect a new screen to your iPad (via cable or via AirPlay), this screen will be automatically blacked out. This is useful if you do not want your audience in the room to see what you are currently doing on your iPad before the presentation starts.