
Masks can be used to hide (crop) unwanted parts of a layer. They can be used on any type of layer, whether image, video, or text.
Creating a Mask
To create a layer mask, double-tap a layer in the Stage to open the Options Popup, then tap on Mask in the effects list to reveal the Mask Options.
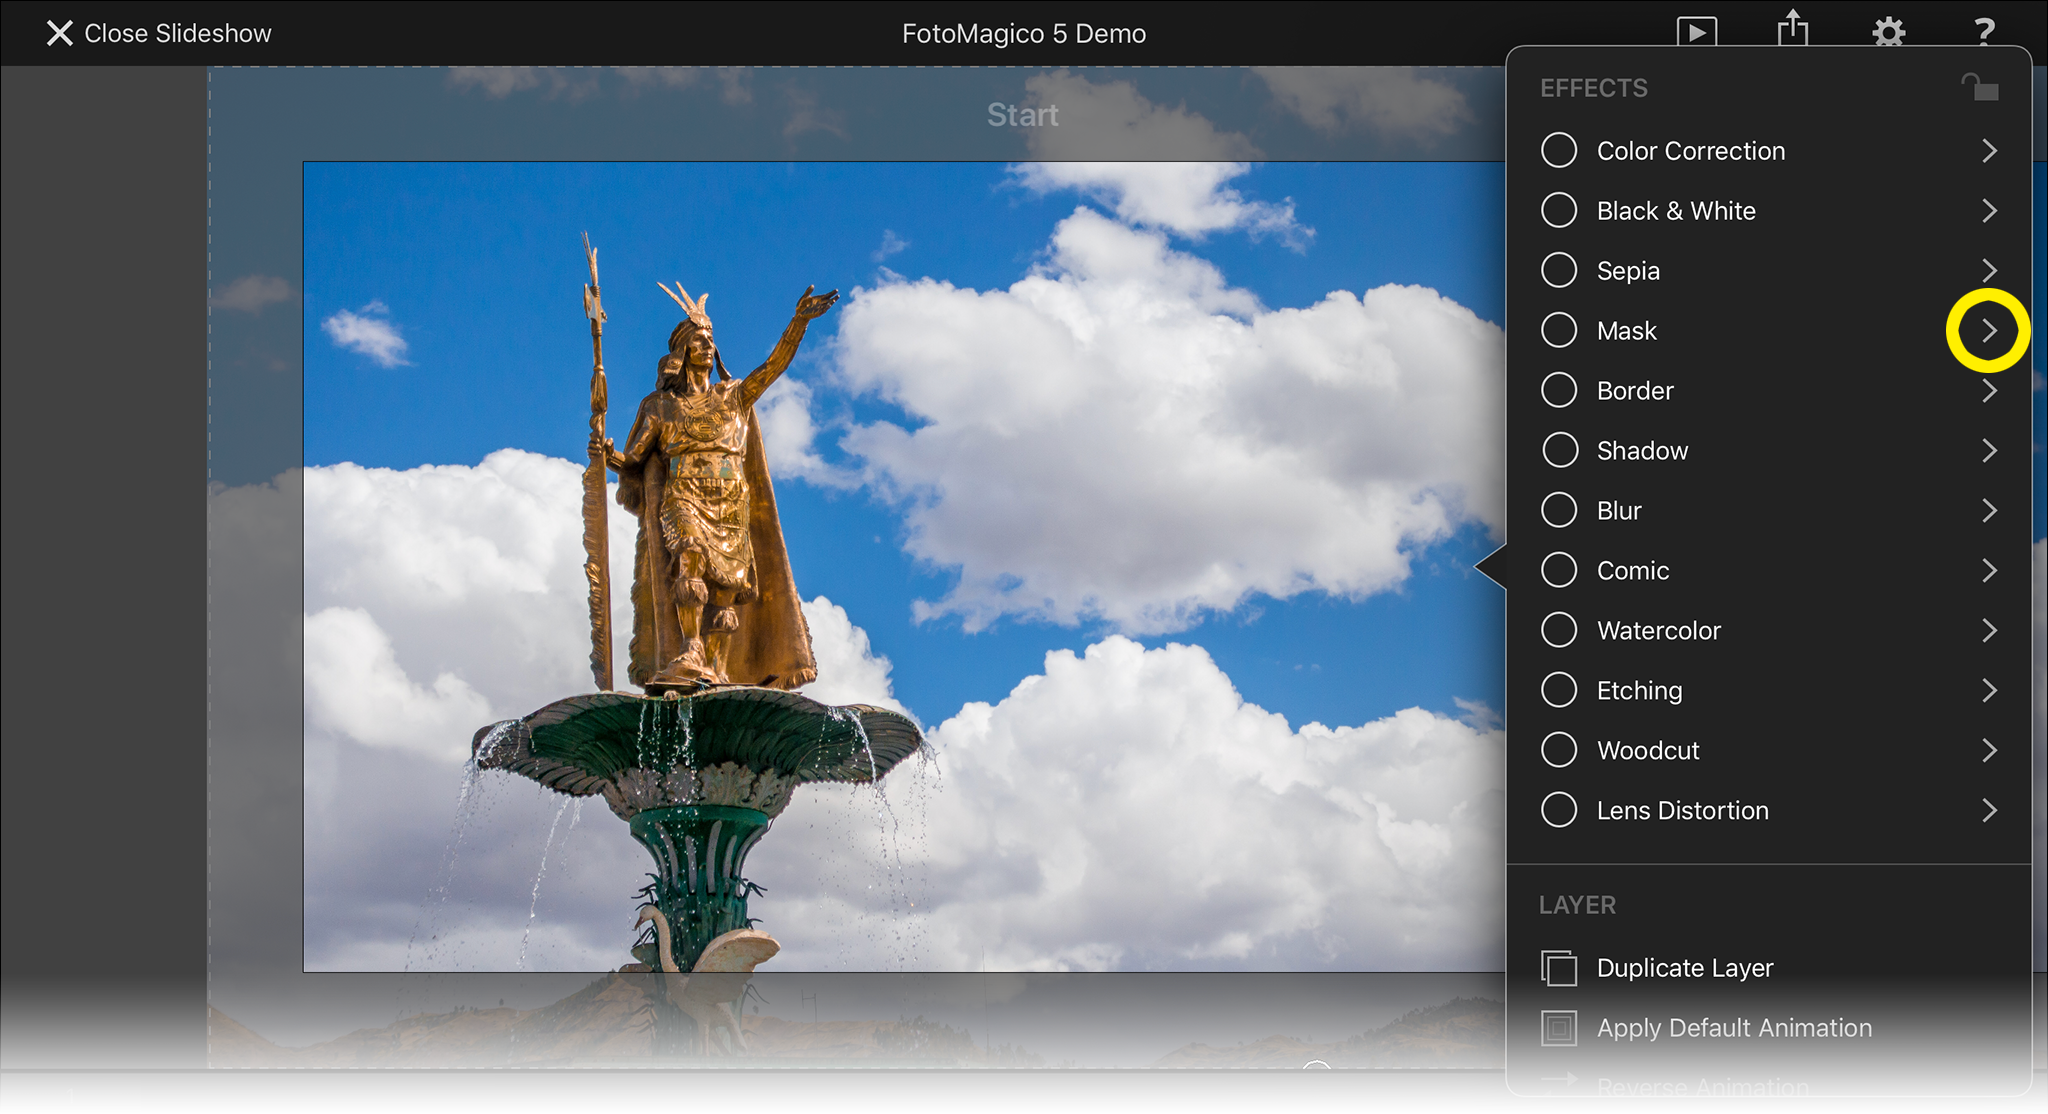
The icons at the top are shortcuts for creating commonly used static (non-animated) masks, e.g. left side of the Stage. Tap on one of these icons to create the corresponding mask for the selected layer.
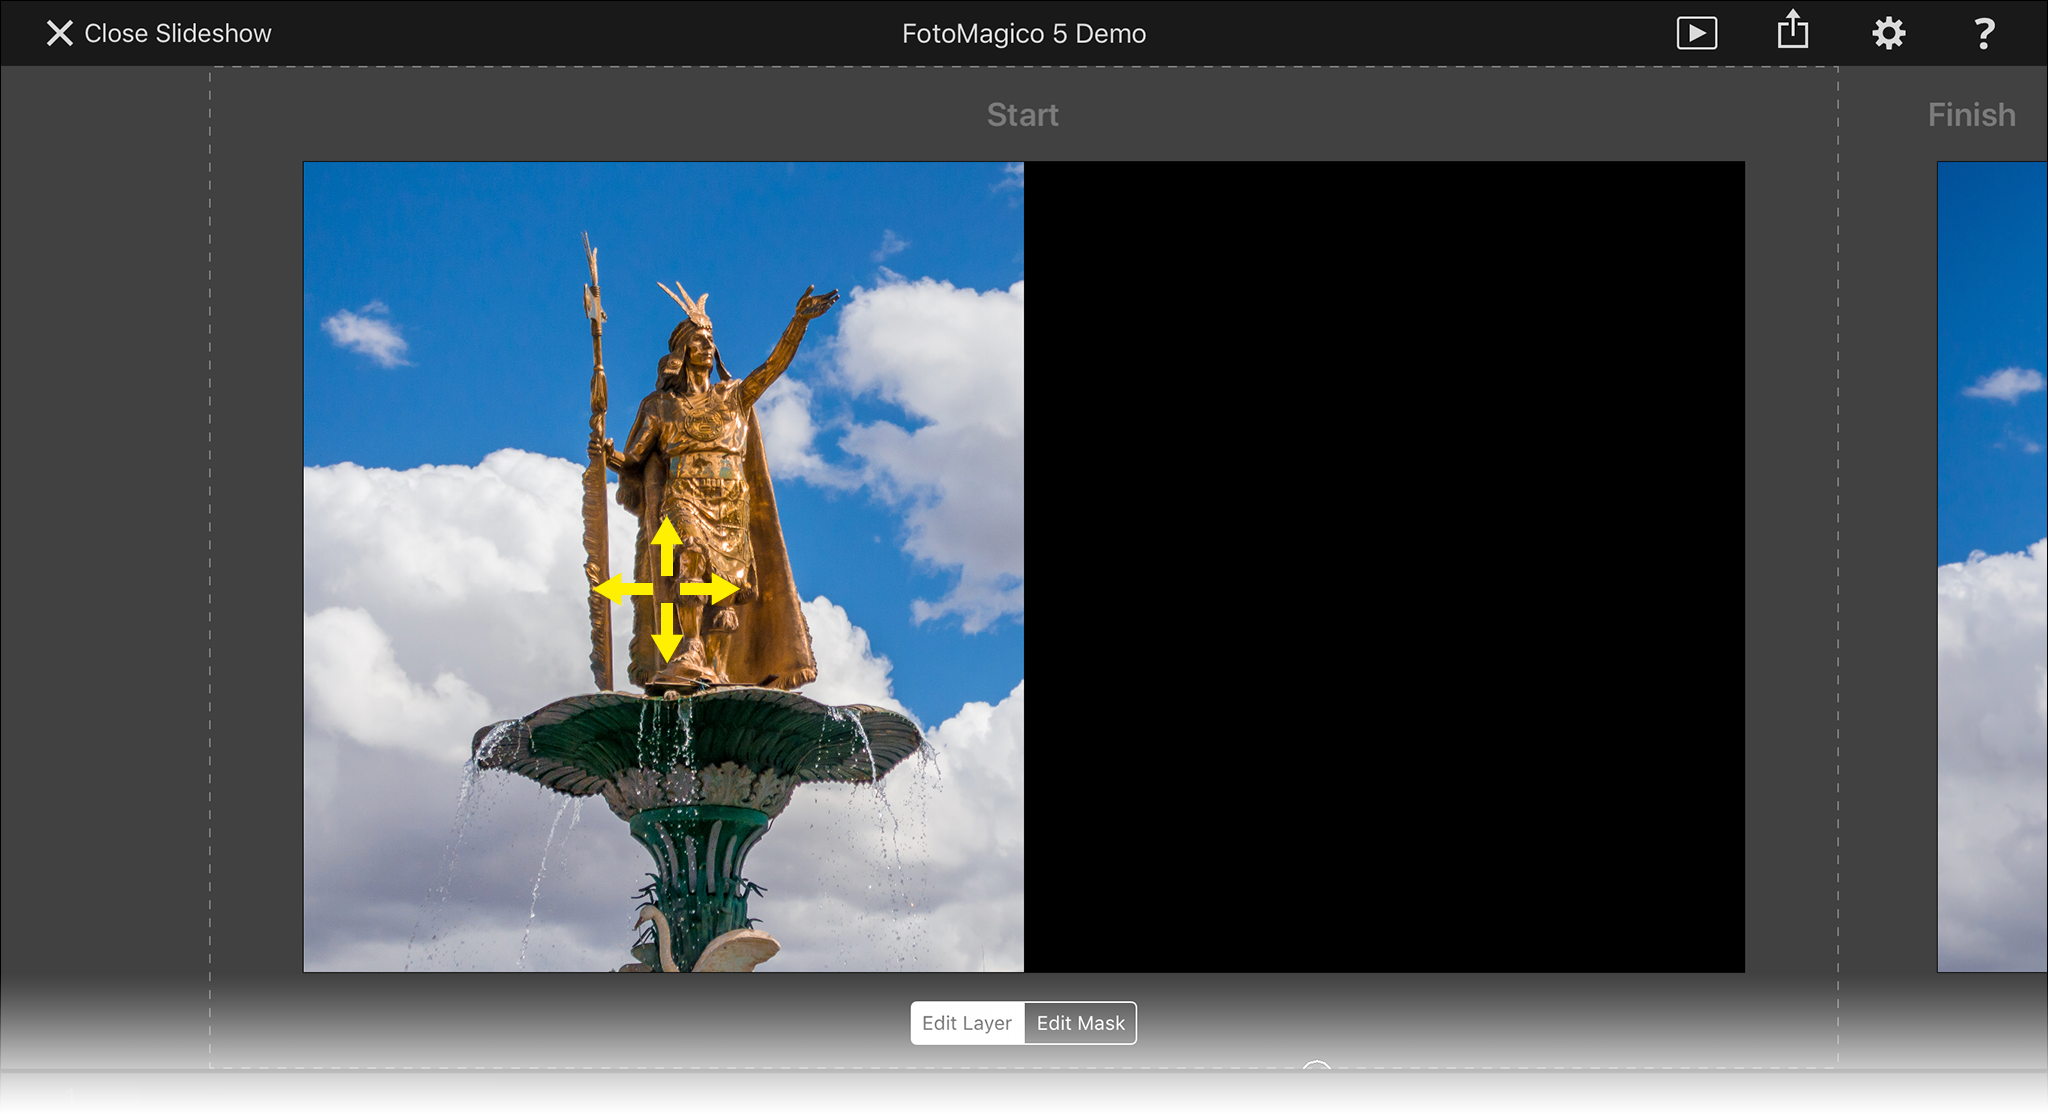
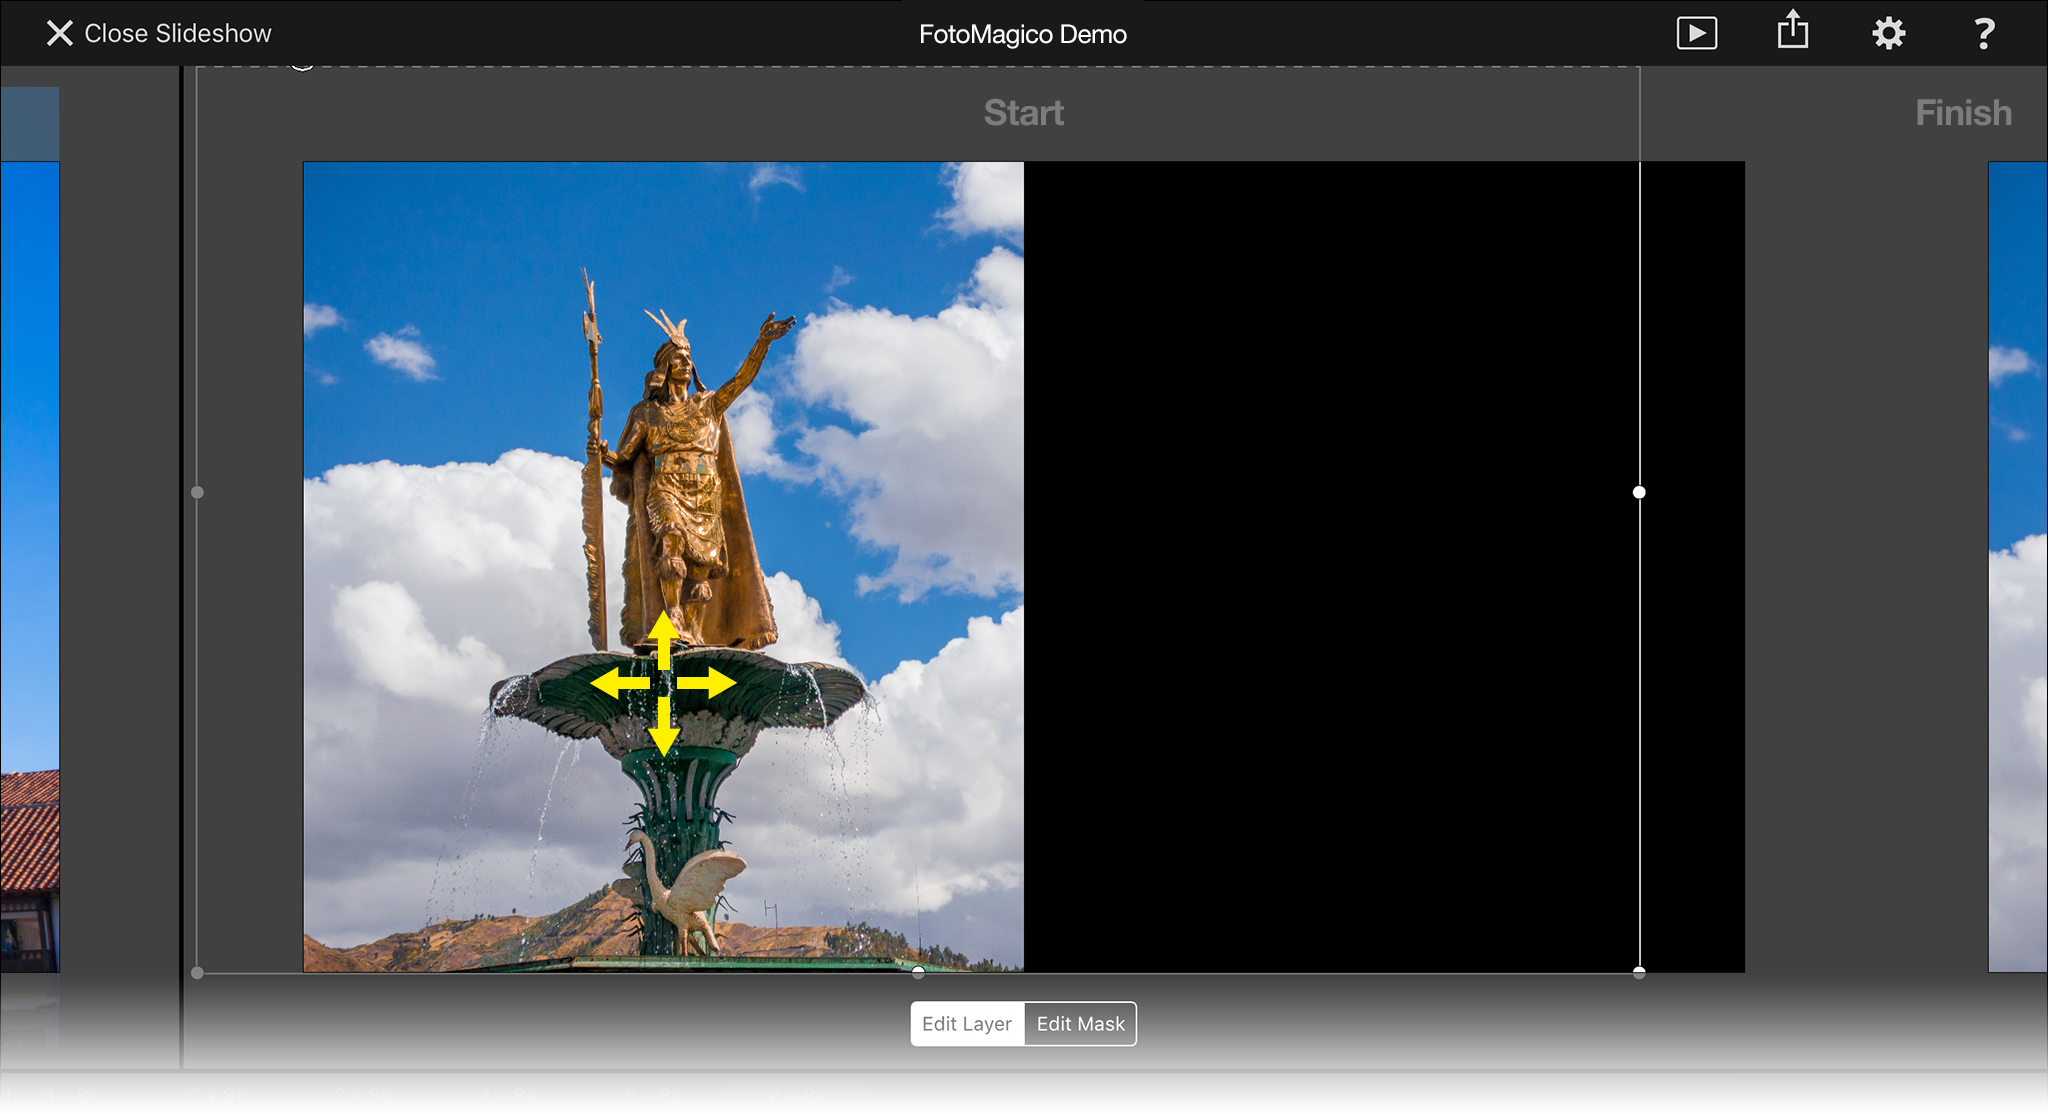
In the Stage you can move the layer to position the image within the newly created mask.
Editing a Mask
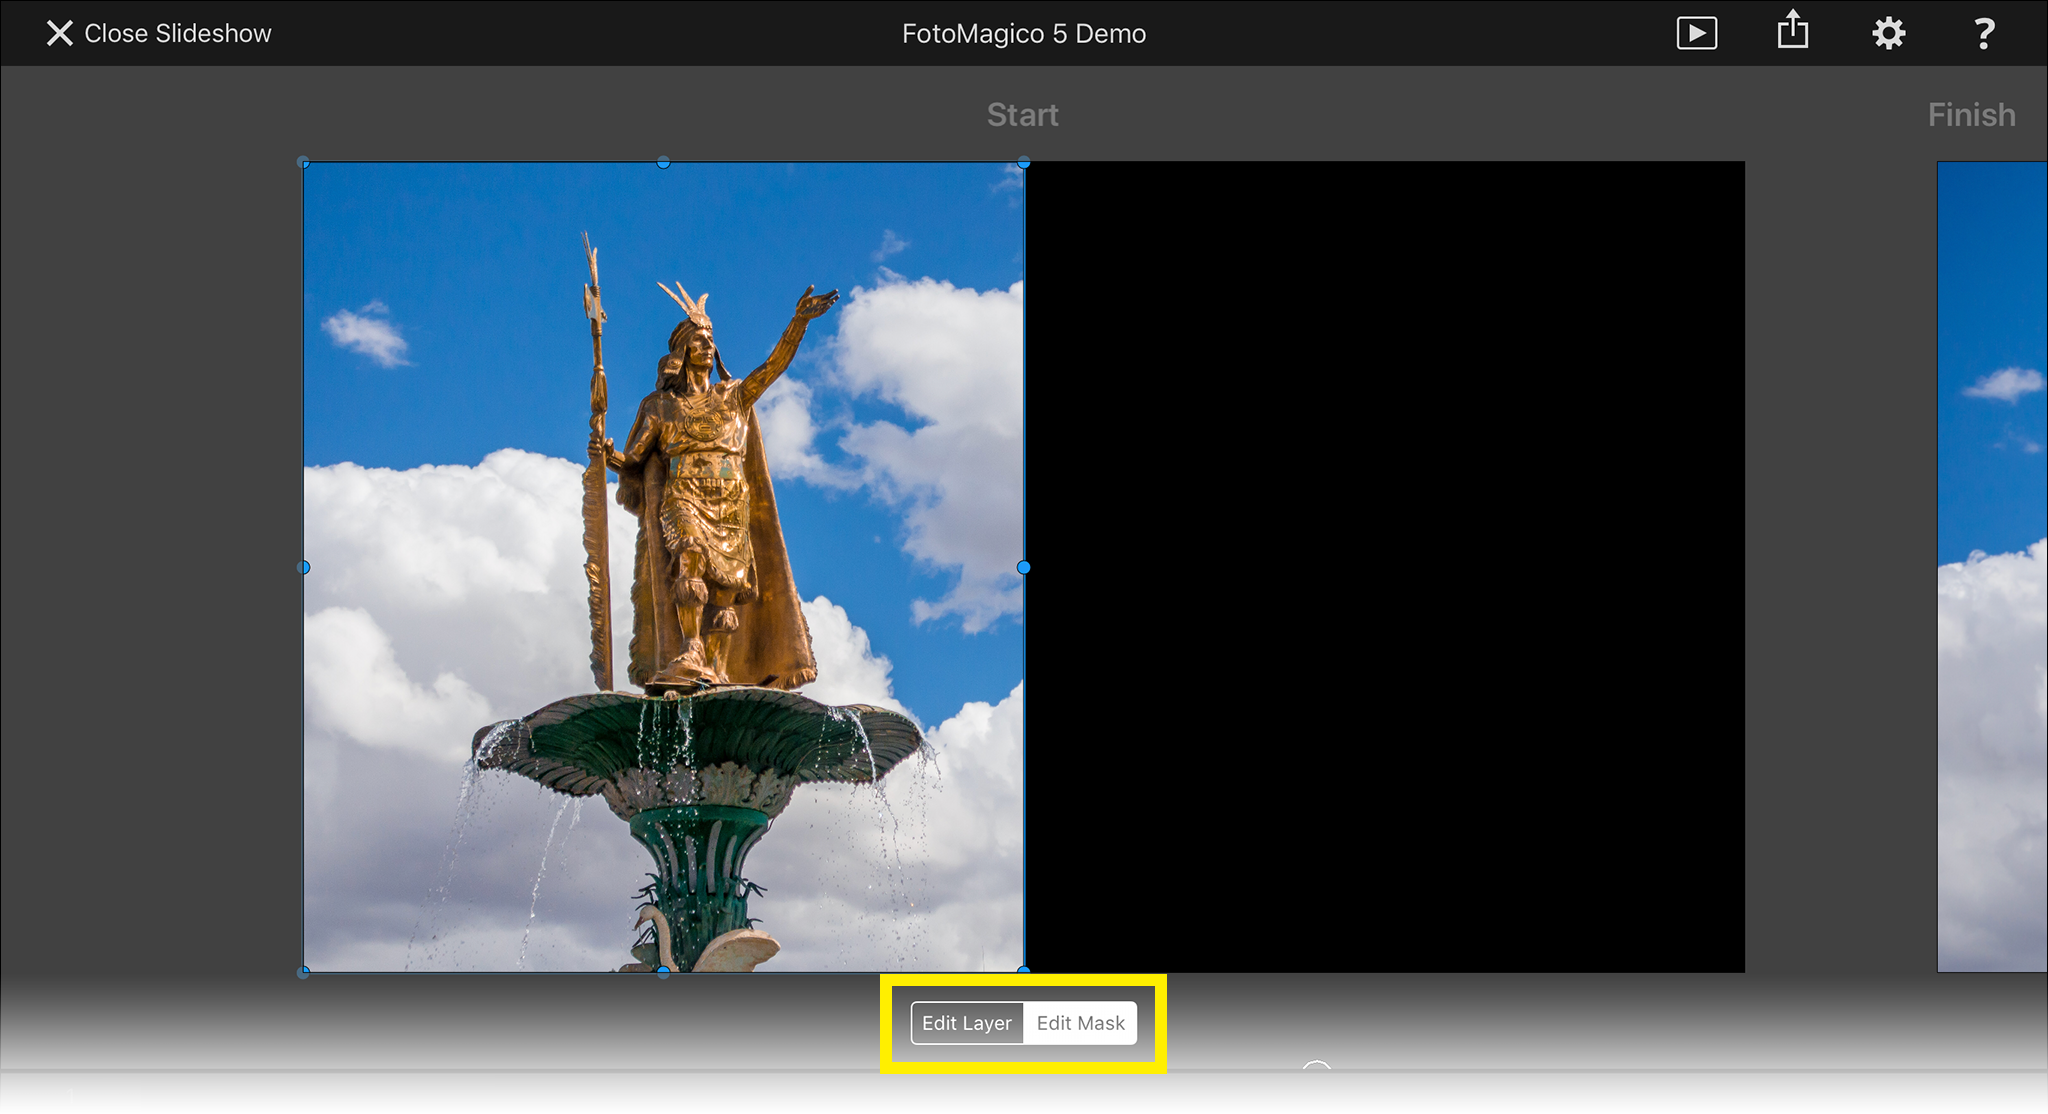
When a masked layer is selected, a toggle is displayed in the Stage. Its default is Edit Layer. If you switch to Edit Mask the layer selection frame turns blue and you can move, zoom, or rotate the mask instead of the layer.
You can also edit the mask shape, size and blur by opening the Mask Options and entering the values numerically.
Example Uses of Masks
Masks can be positioned, zoomed, rotated and animated independently from the layer itself. This open up possibilities for a variety of interesting effects:
- Vertical images have traditionally been difficult to use in slideshows (a horizontal presentation medium). When a fully visible vertical image is zoomed, you get ugly moving layer edges. To avoid this, you can apply a rectangular non-animated mask, so that the moving layer edges are cropped away.
- Splitscreens with multiple images visible at the same time. FotoMagico provides a couple of pre-built splitscreen effects in the Snippets browser.
- The travel map effect: The bottom image layer displays a map, while an upper image layer displays a transparent PNG image that contains a line depicting the travel route. When you add a mask to the upper layer and animate that mask to gradually reveal the line, you get the effect that the travel route line is be animated.